
Masking Techniques
Want to adjust only specific parts of your image? You can do this with masks. Masks allow you to apply edits locally, giving you complete creative control over your photo.
This guide will show you how to combine different mask types to transform an image.
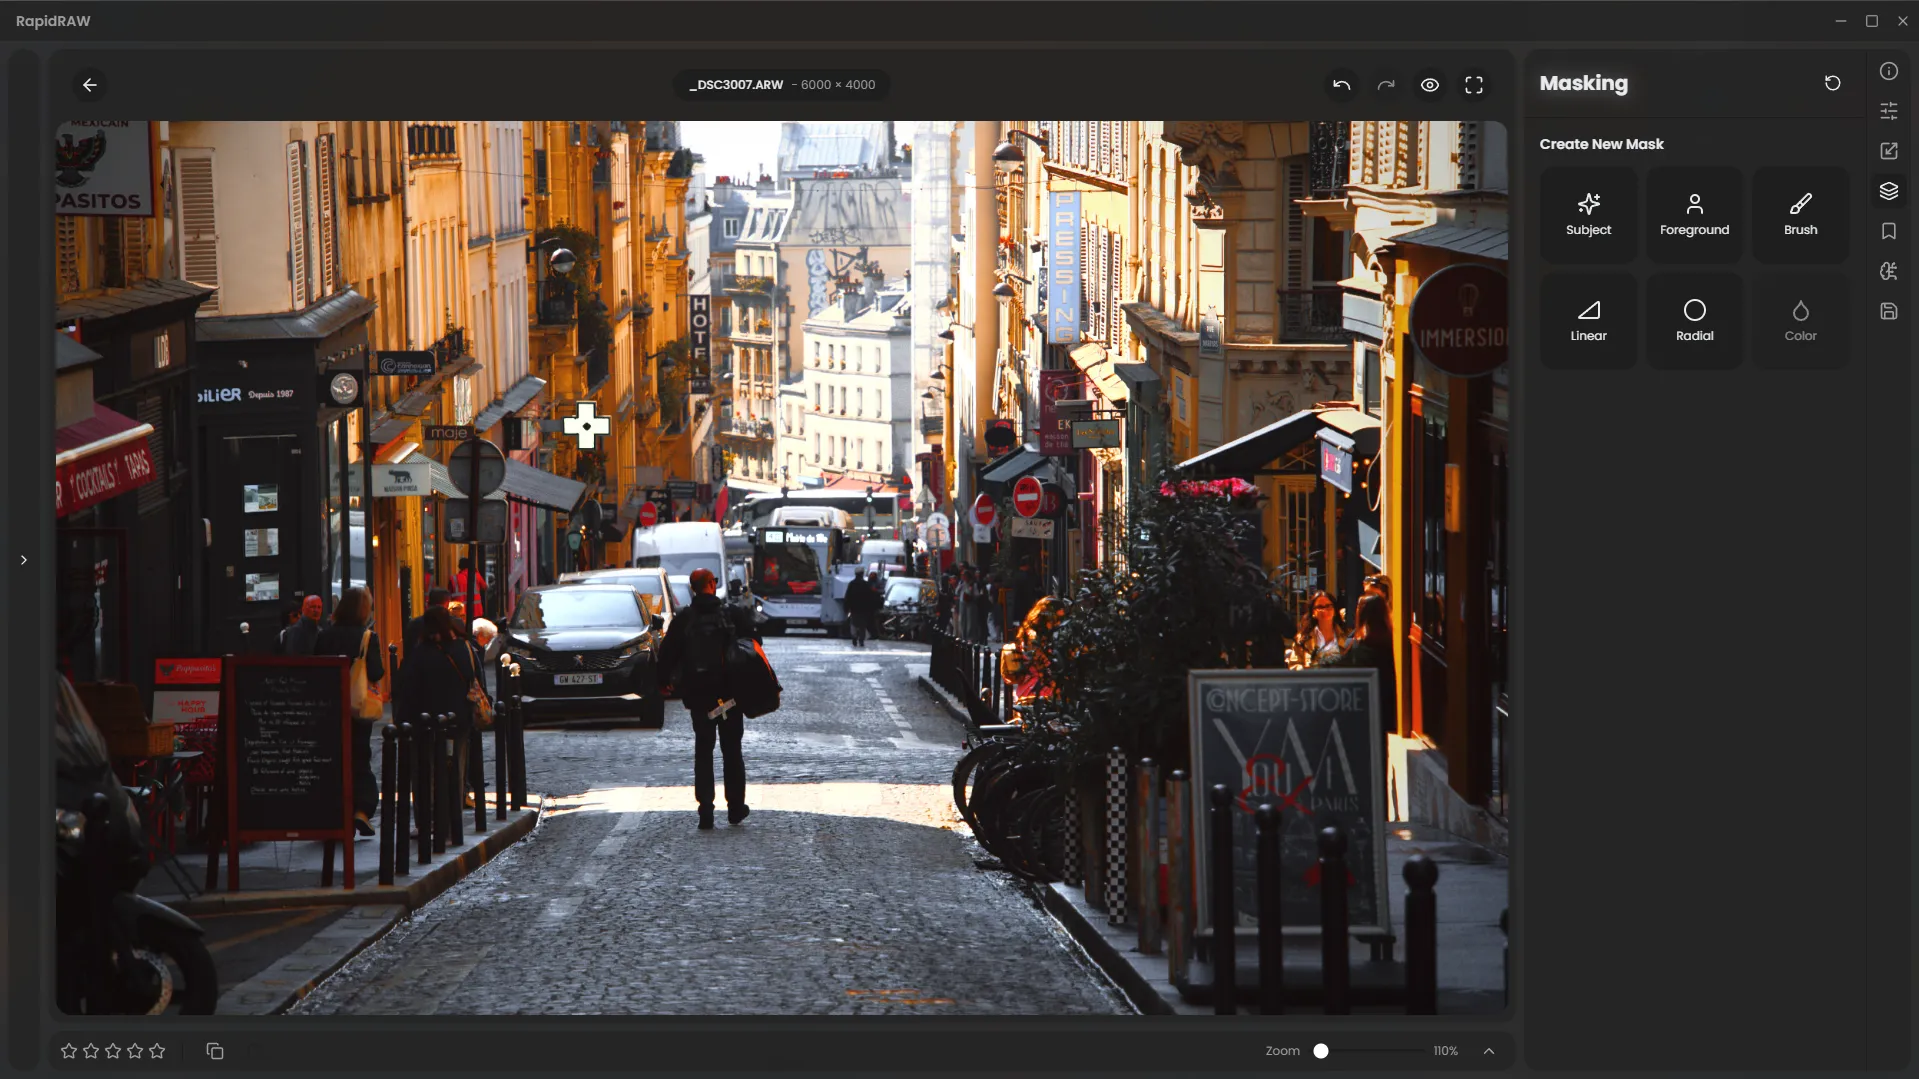
Step 1: Open Your Image
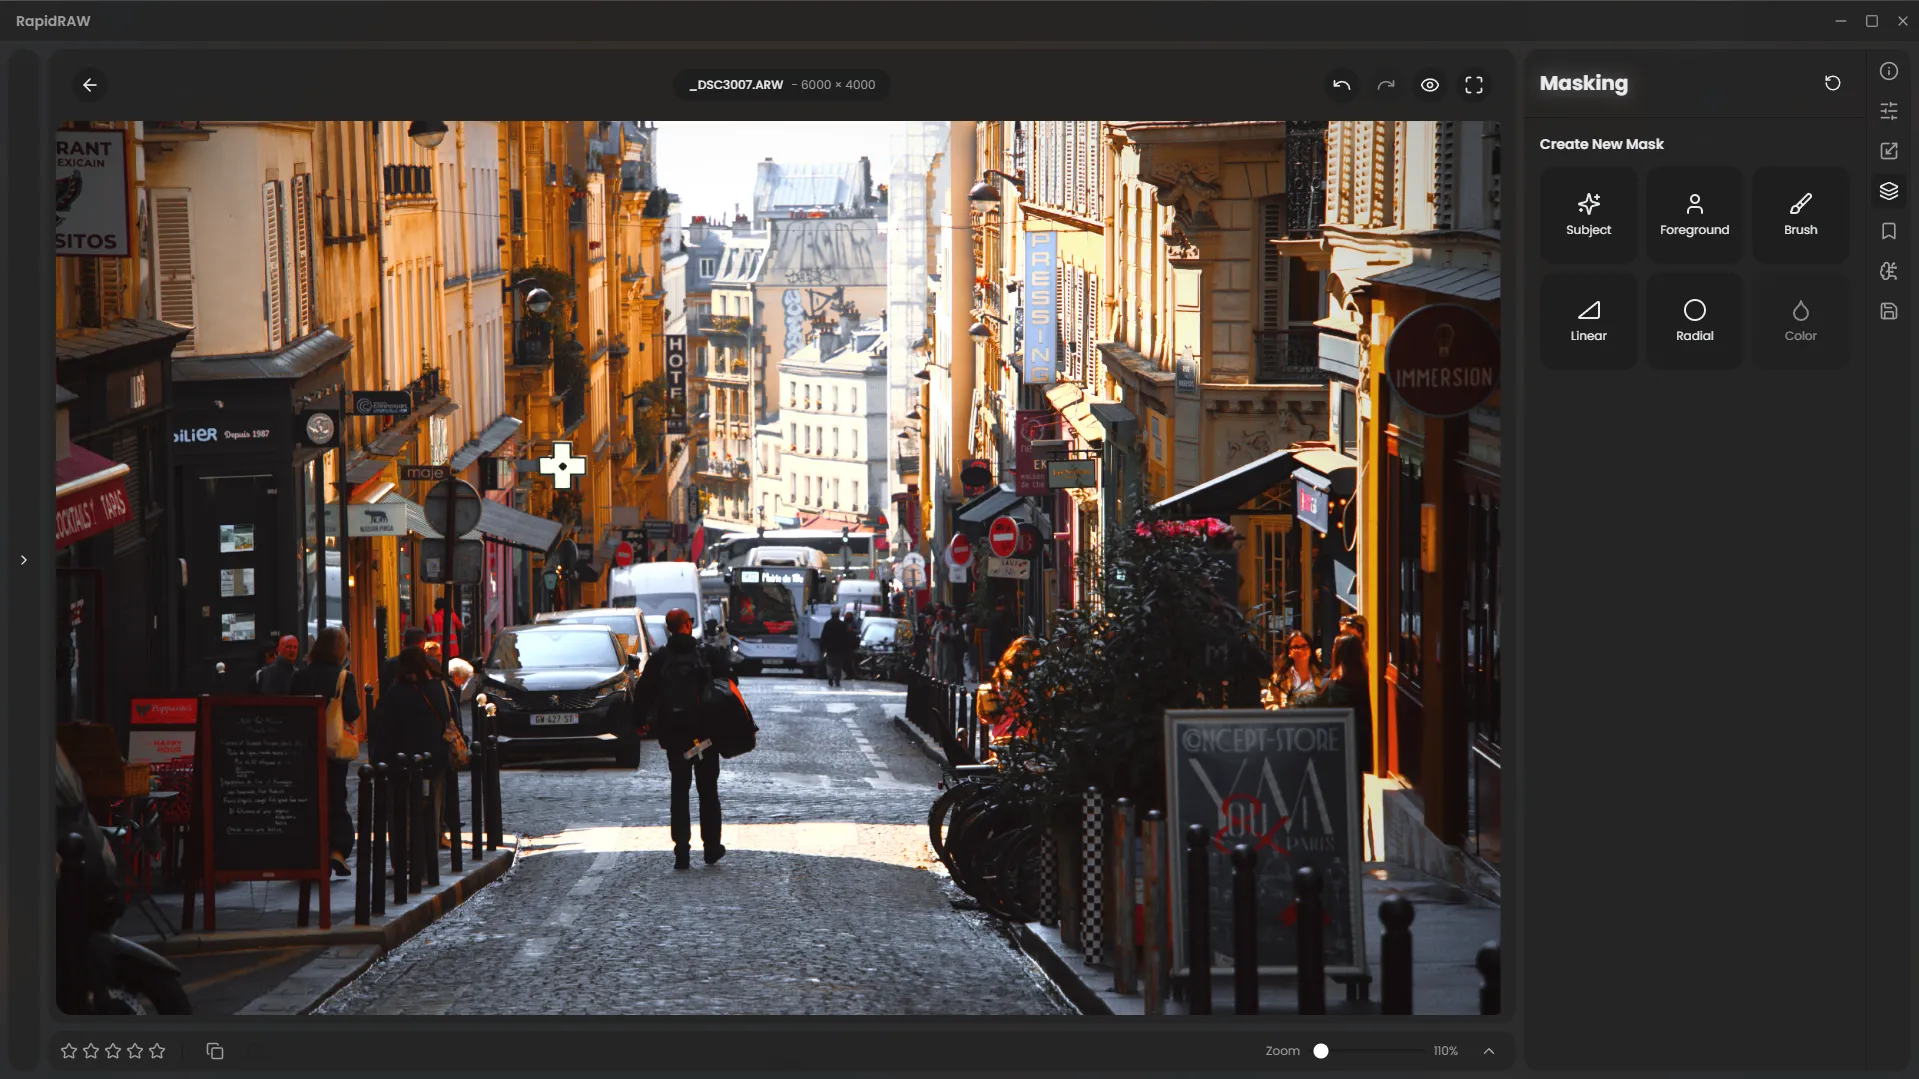
Section titled “Step 1: Open Your Image”First, open the image you want to edit. Here is our starting point - a street scene with challenging light.
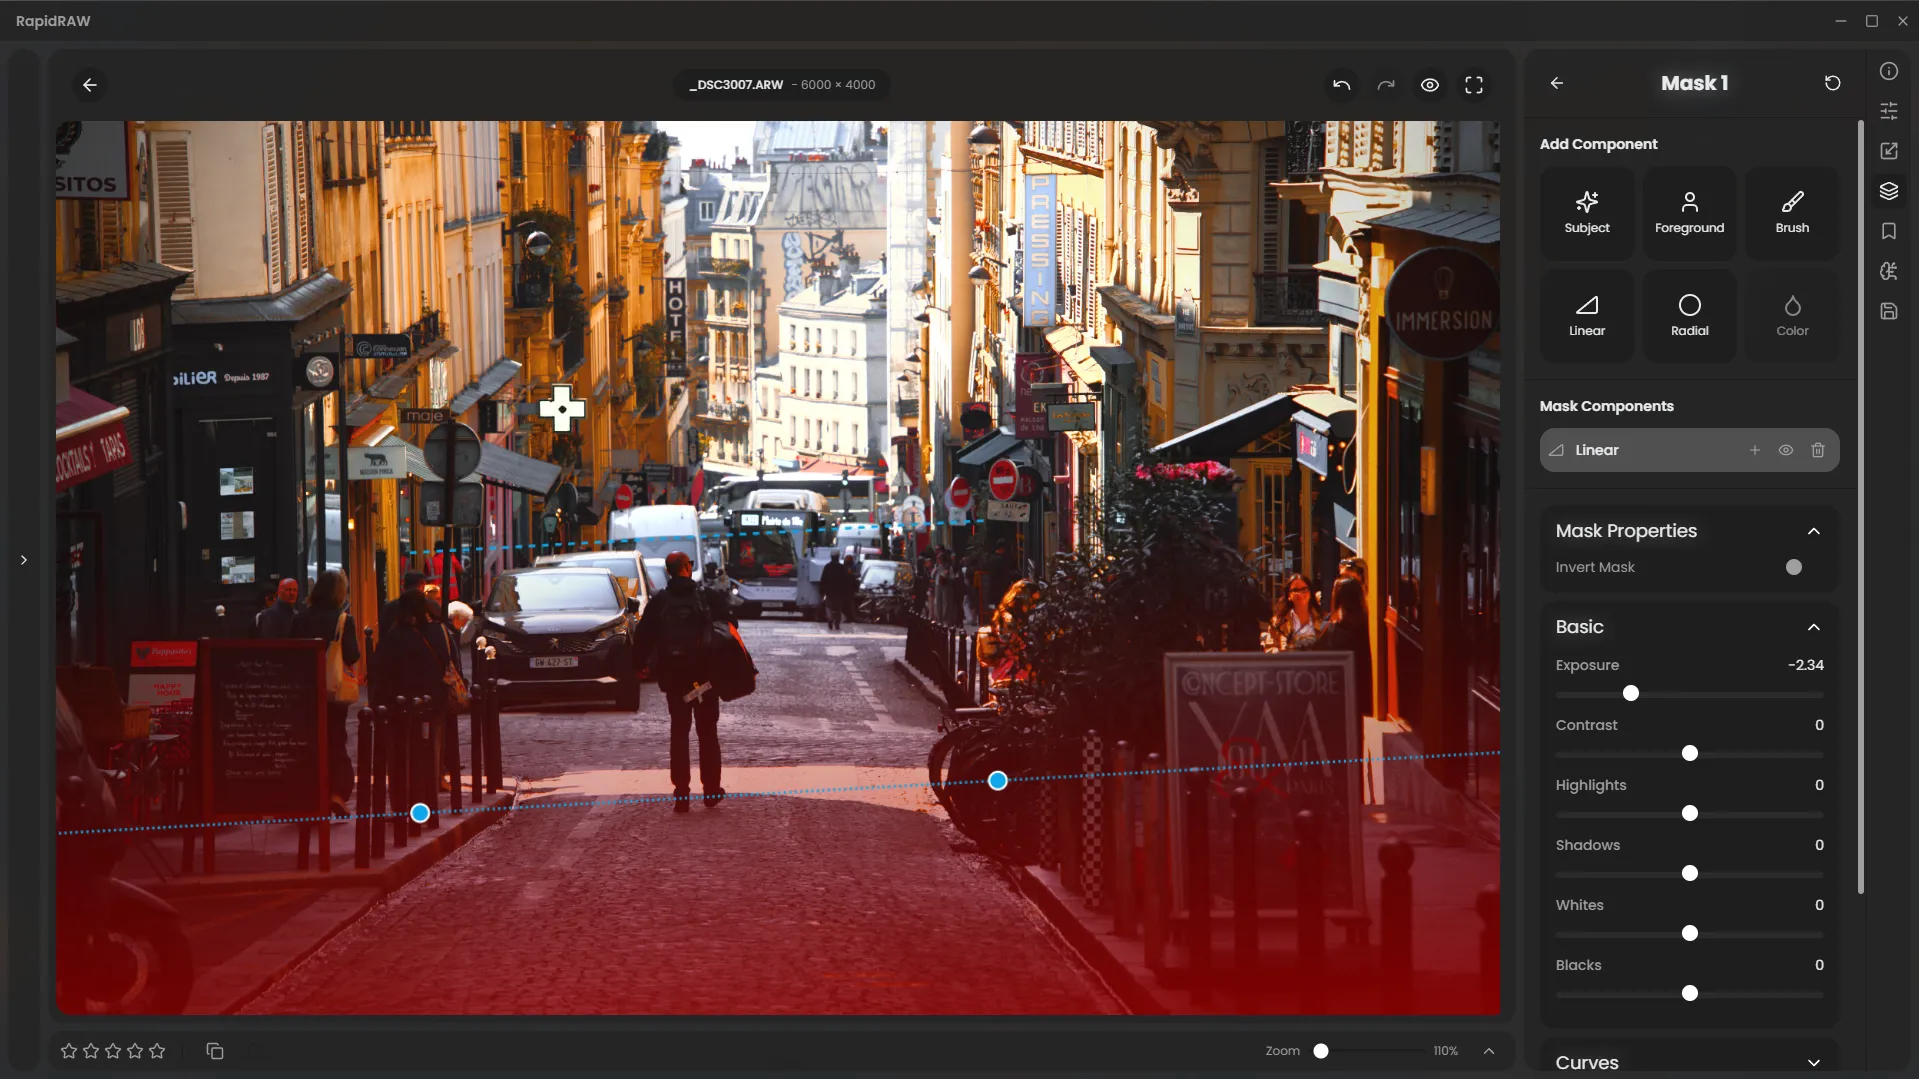
Step 2: Darken the Foreground with a Linear Mask
Section titled “Step 2: Darken the Foreground with a Linear Mask”To create a mask, simply click on a mask type in the right masks panel. This creates a new “mask container” which holds your adjustments.
We want to darken the bright street in the foreground. Let’s add a Linear Mask by clicking its icon, then dragging it up from the bottom of the image. Within this mask, we’ll lower the Exposure to draw more attention to the middle of the scene.
Step 3: Make the Subject Stand Out with AI
Section titled “Step 3: Make the Subject Stand Out with AI”Next, we want to make the person in the center stand out. We can use the powerful AI Subject tool for this.
After creating a new AI mask, simply draw a rough selection around the person.

The AI model will analyze the selection and automatically generate a precise mask of the subject.

Now that only the person is selected, we can increase their Exposure and Contrast slightly to make them pop.

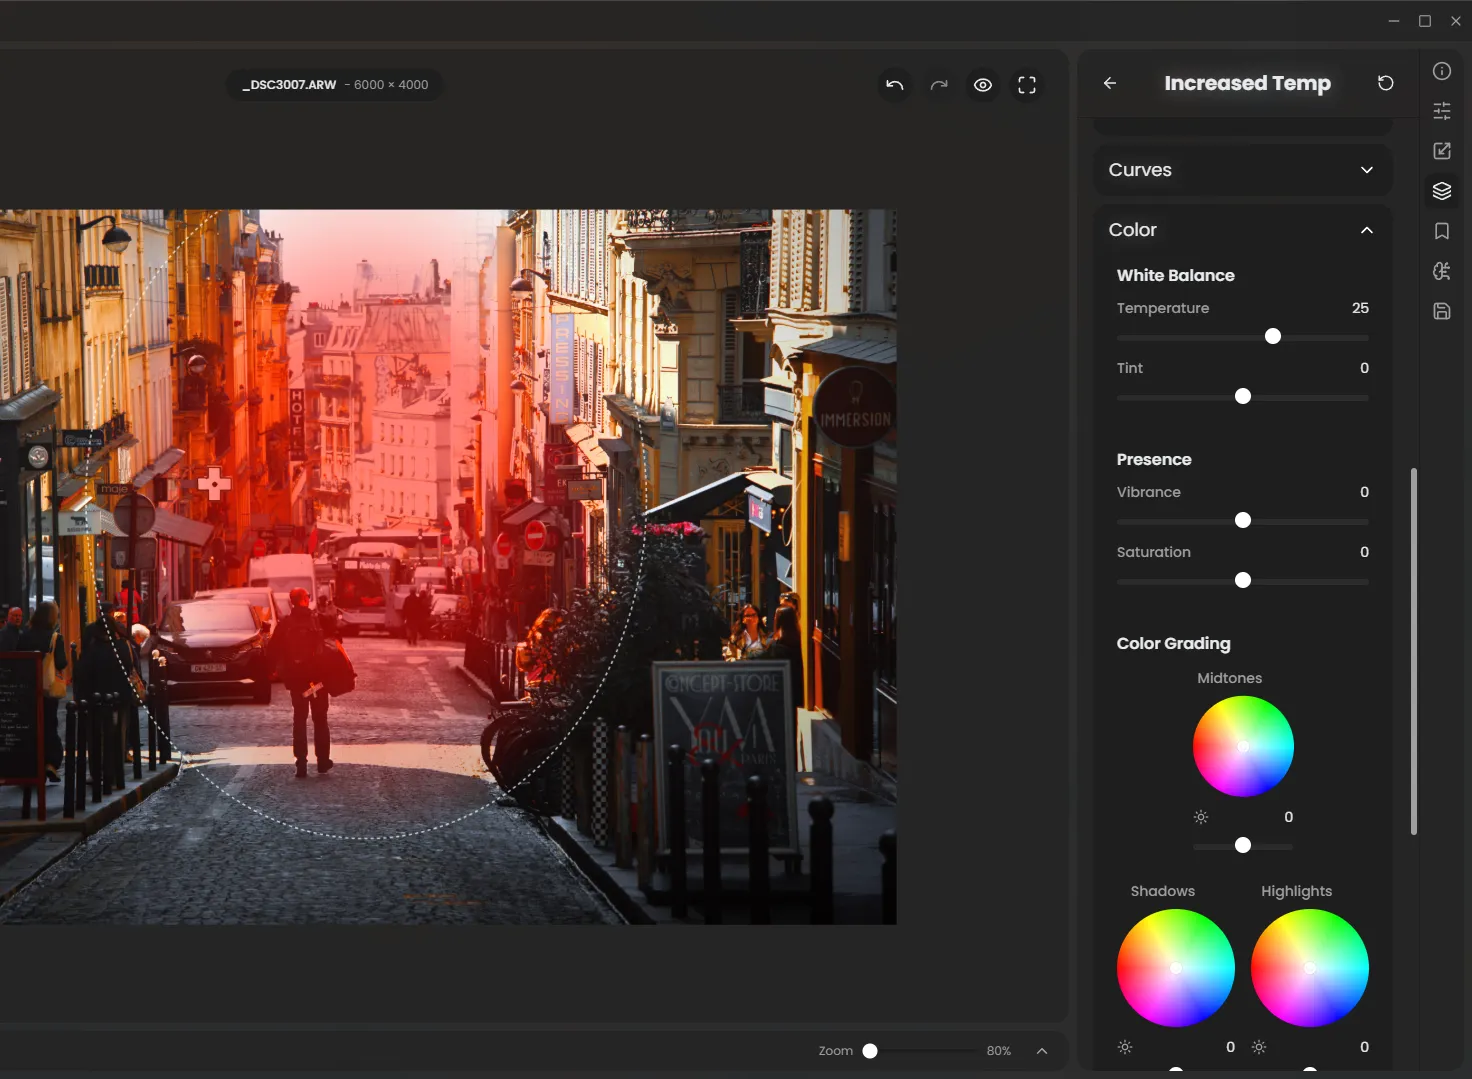
Step 4: Add Warmth with a Radial Mask
Section titled “Step 4: Add Warmth with a Radial Mask”The light at the end of the street is a key focal point. We can enhance it by creating a soft, feathered Radial Mask.
We’ll place the mask over the light source and increase the Exposure, Contrast, and especially the Temperature to create a warm, inviting glow.
Step 5: Balance the Scene with Another Linear Mask
Section titled “Step 5: Balance the Scene with Another Linear Mask”I think the left side of the street is still a bit too bright and distracting. Let’s add one more Linear Mask to the left side.
We’ll place it and lower the Exposure slightly to balance the overall lighting and keep the viewer’s eye focused on the center of the frame.
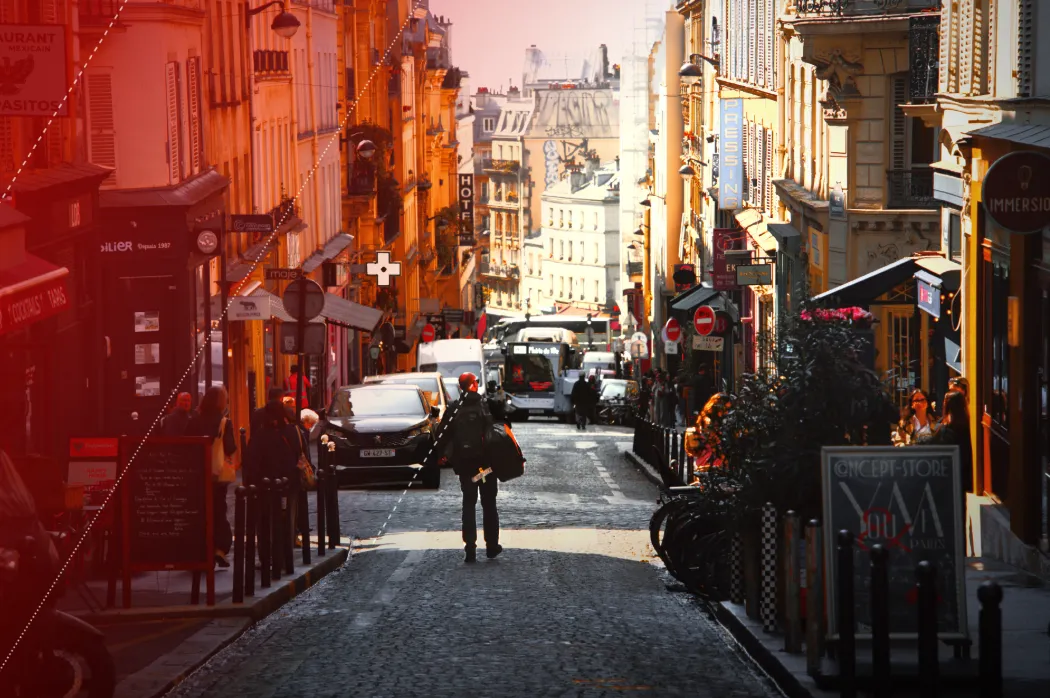
Step 6: The Final Result
Section titled “Step 6: The Final Result”By combining several masks, we have completely transformed the mood and focus of the image. Each mask targets a specific area with its own unique adjustments.
Here is the final image with all masks applied:

And here is the original image for comparison.
Tip: Open the 2 images in seperate tabs (and switch between them) to see the difference more clearly.
Congratulations!
Section titled “Congratulations!”You’ve now learned how to use multiple masks - including Linear, Radial, and AI Subject - to perform complex, targeted adjustments. This technique is one of the most powerful ways to improve your photo editing.
Pro Tip: Combining and Excluding Masks
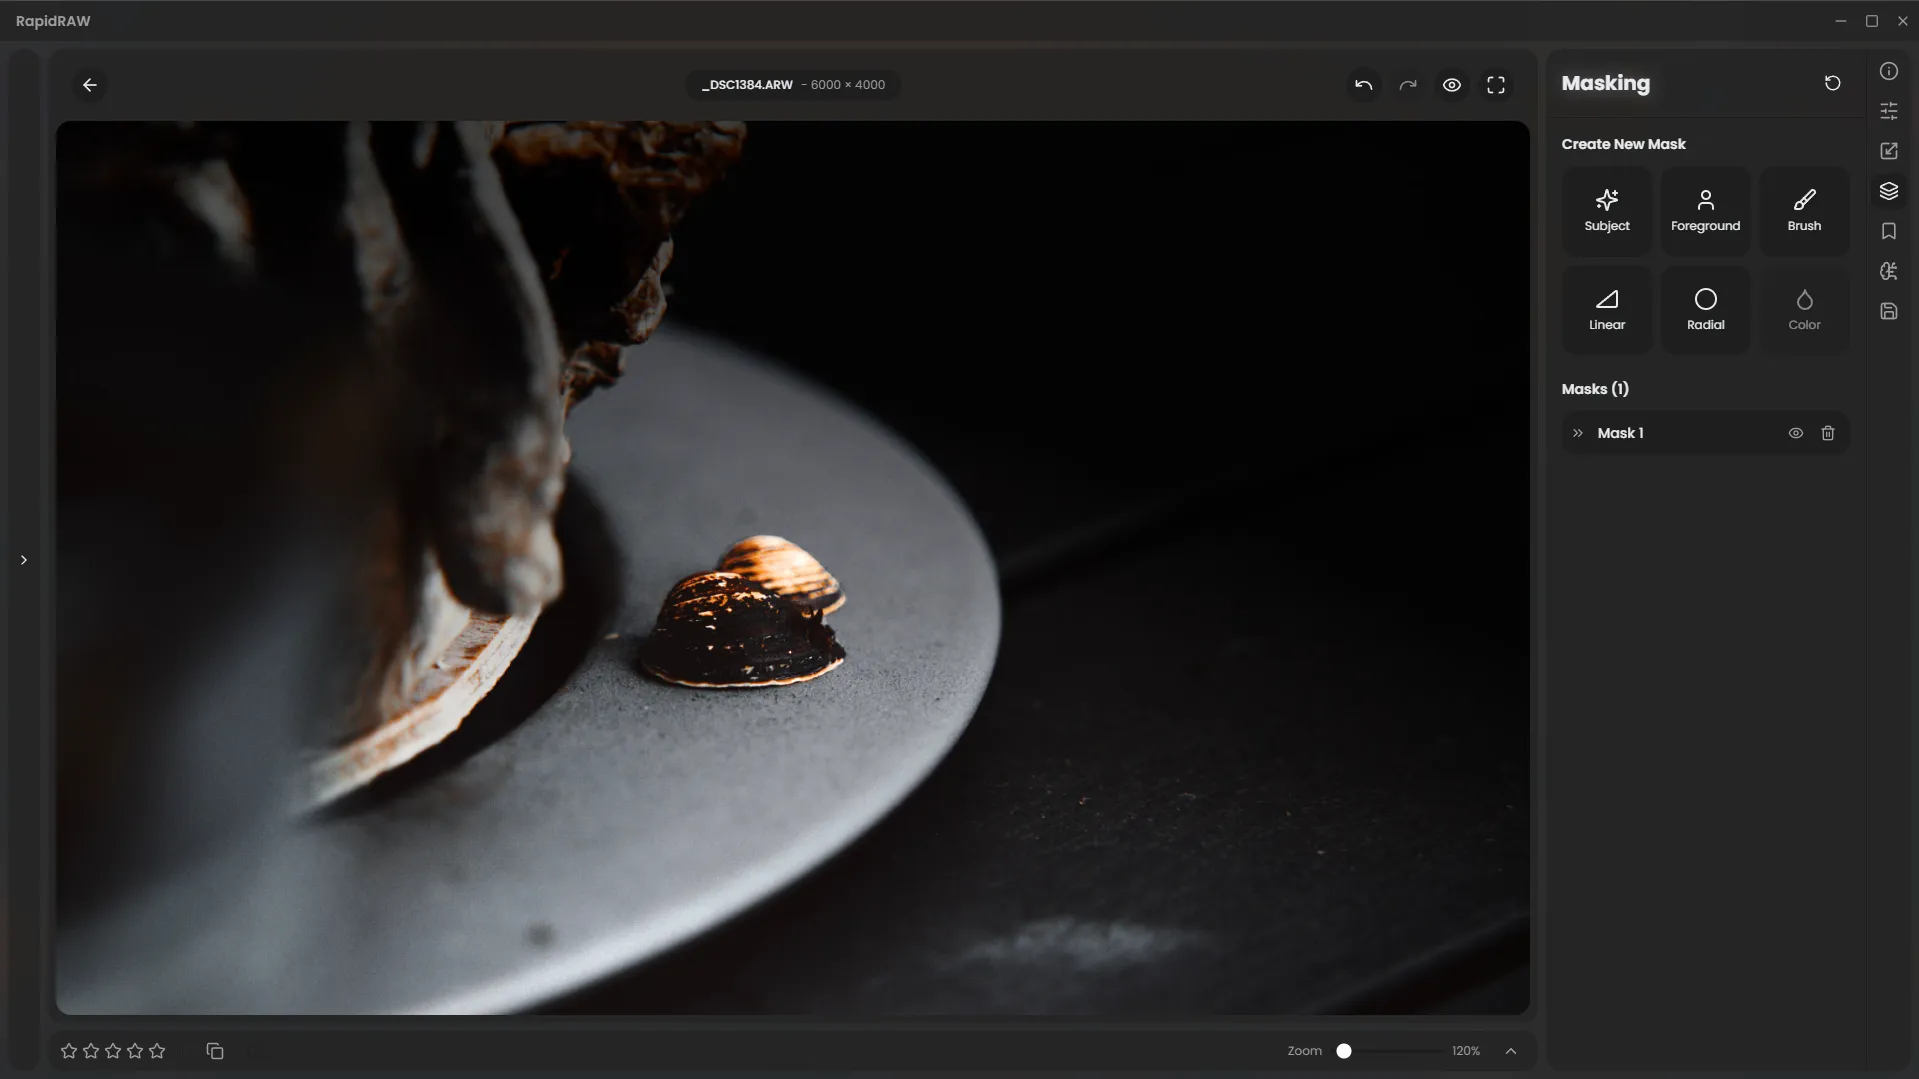
Section titled “Pro Tip: Combining and Excluding Masks”You can create even more complex selections by adding or subtracting masks within a single mask container. For example, let’s say we want to darken the background of this image, but leave the main subject (the shell) untouched.
Here’s how you can do it.
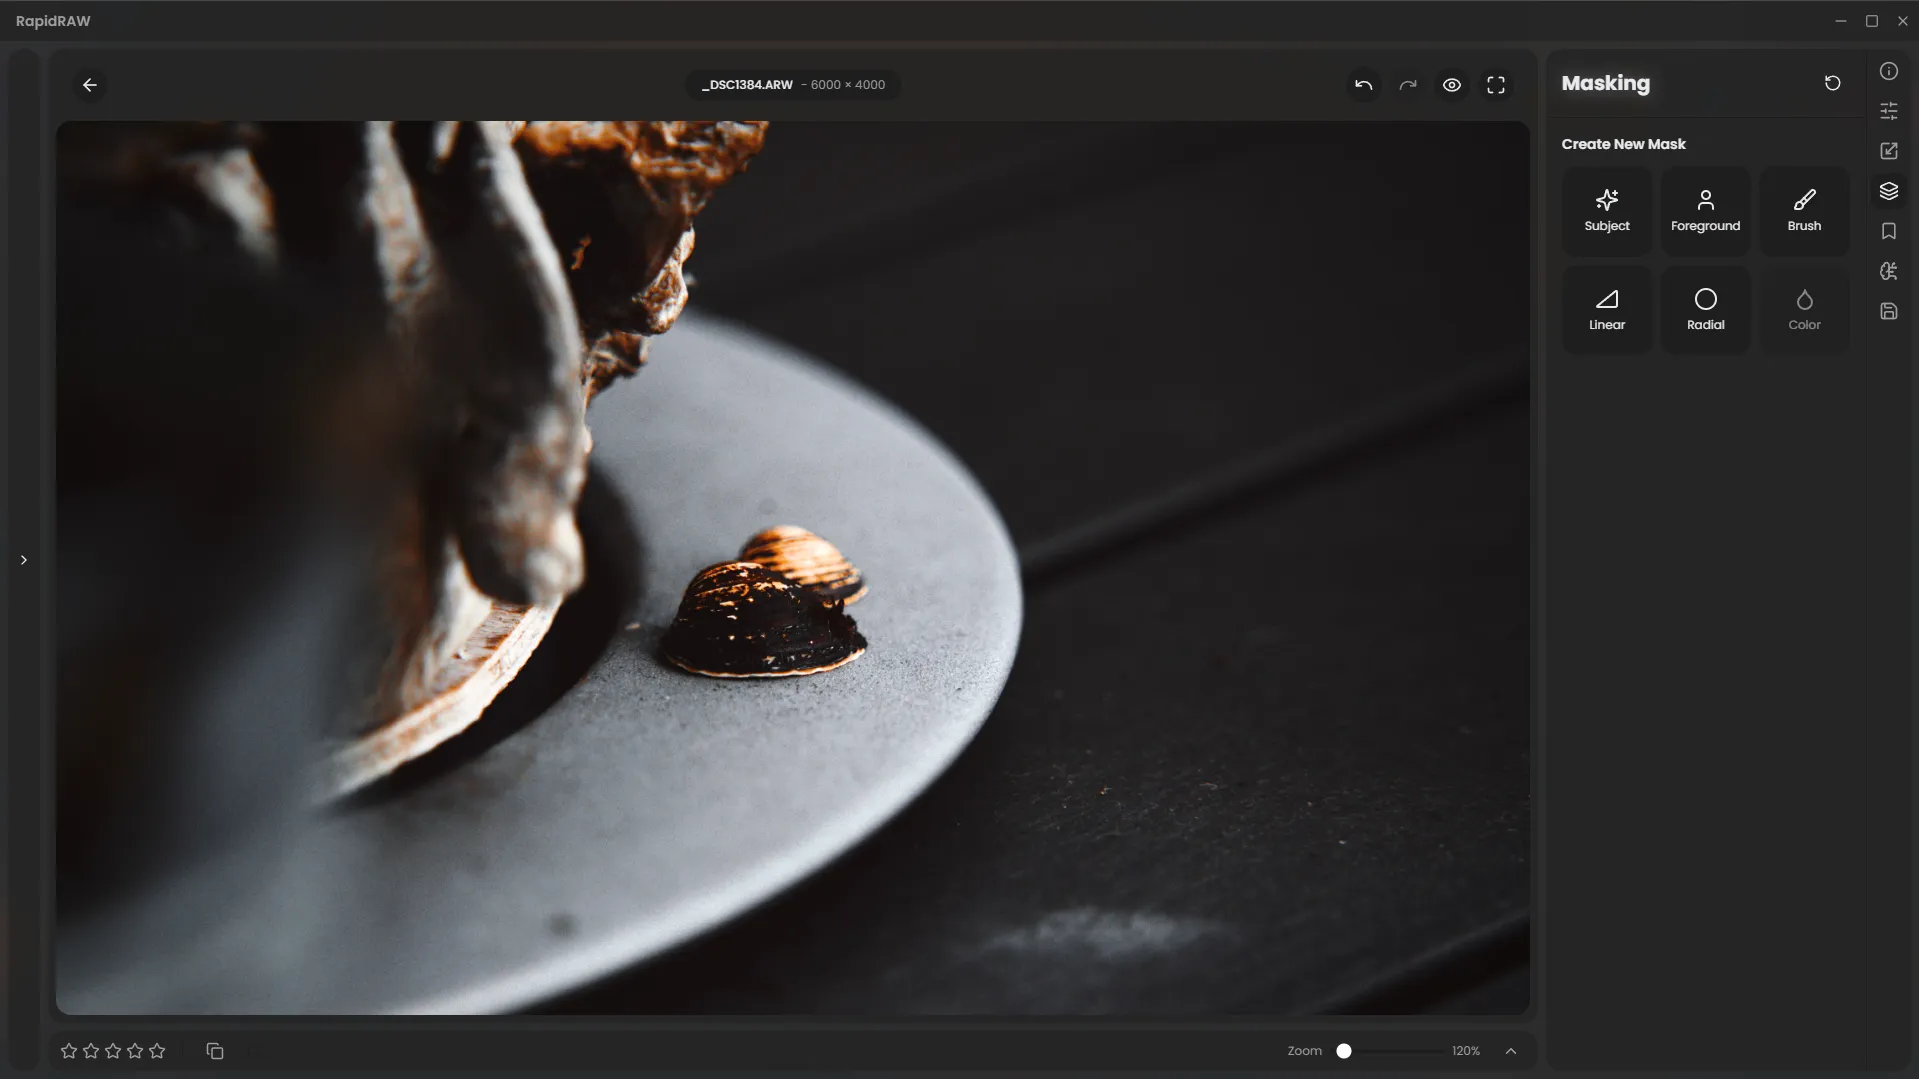
First, we start with our image.
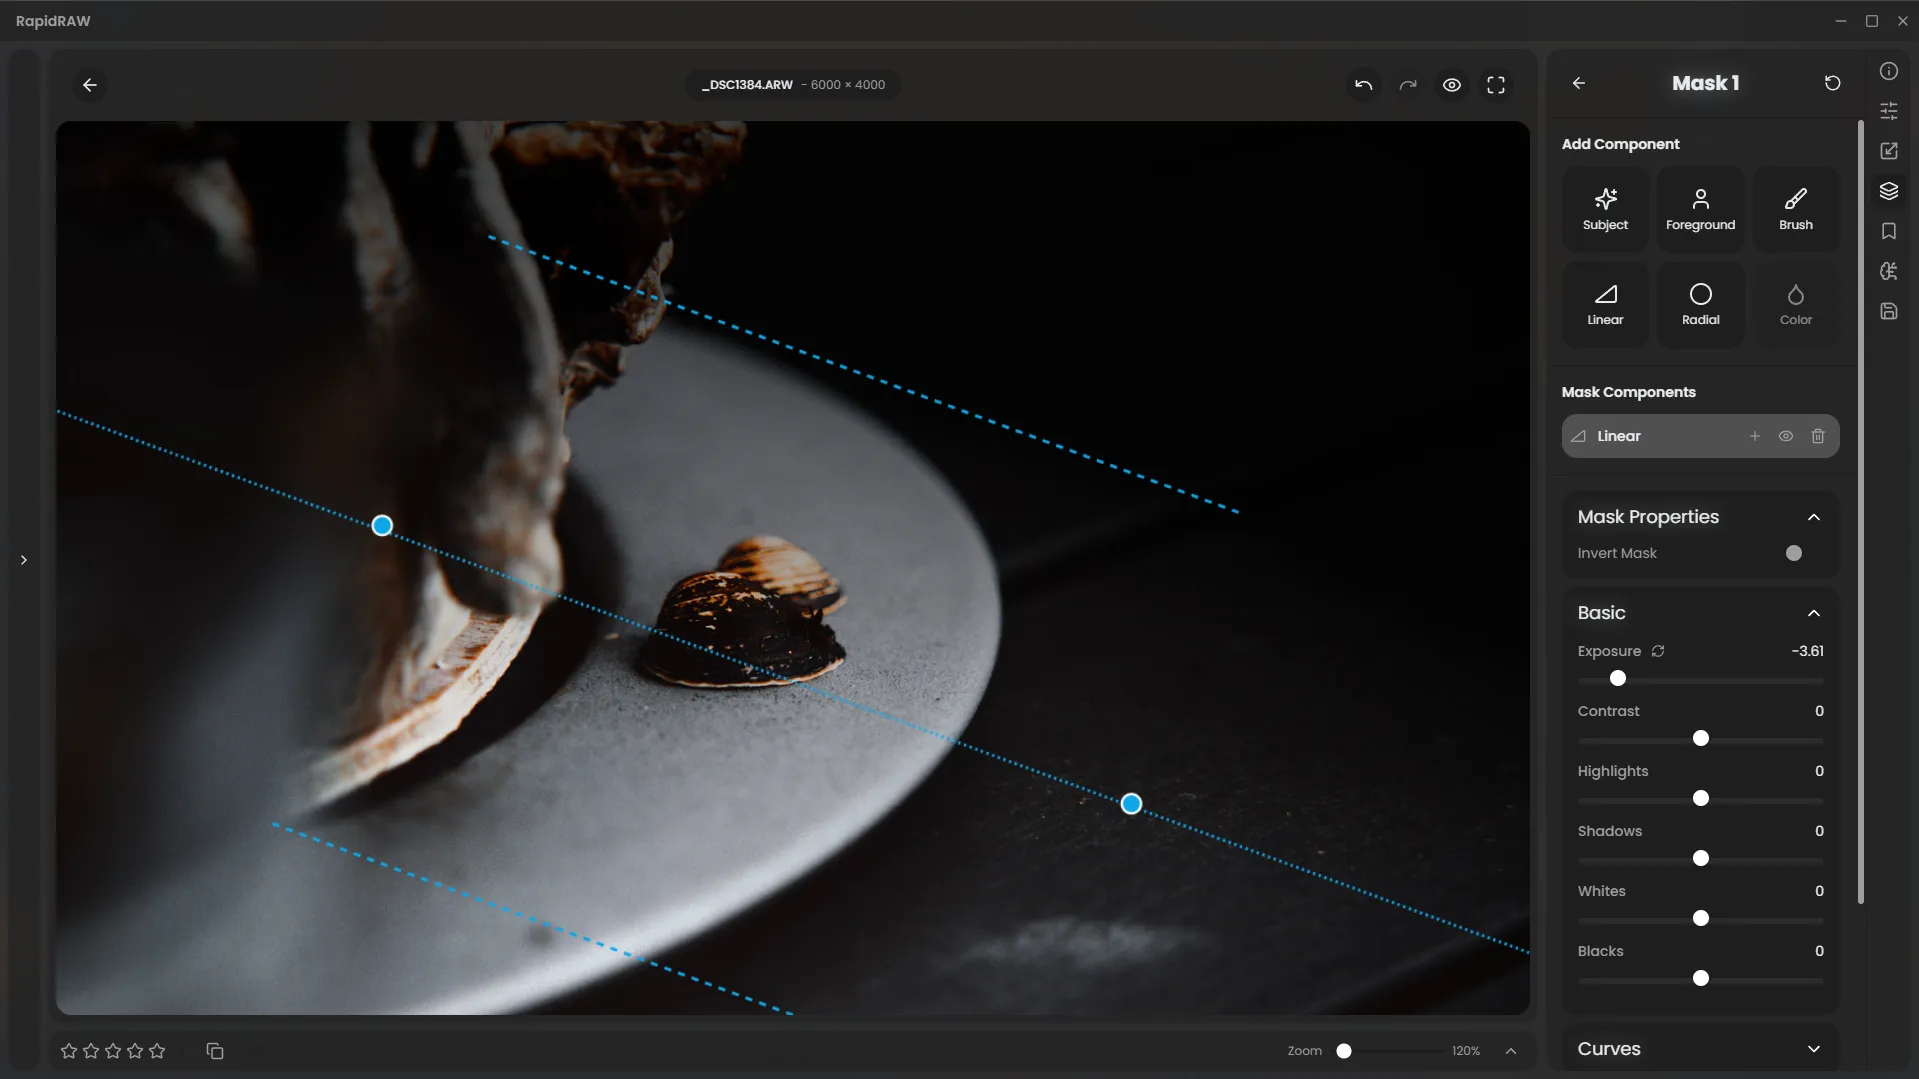
Next, we add a Linear Mask to the scene and lower the exposure. Notice that this darkens everything, including the shell.
Now, within the same mask container, we add an AI Subject mask and draw a selection around the shell.
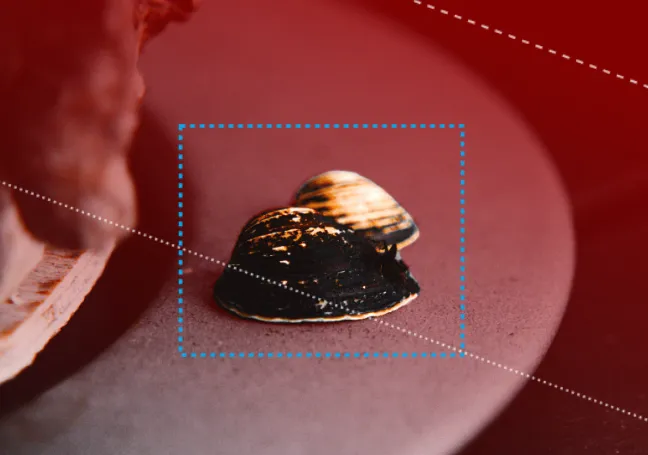
Here’s the key step. In the Mask Components panel, we click the exclude (minus) button next to our AI Subject mask. This tells RapidRAW to subtract the shell’s shape from the main linear mask’s area of effect.
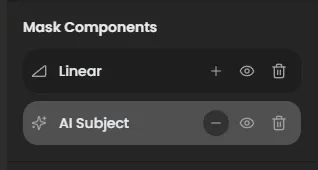
The result is a mask that darkens the background without affecting the shell. This gives you precise control over your adjustments.
This powerful feature lets you build selections for any editing challenge.