Getting Started
Welcome to your first editing session in RapidRAW! This guide will walk you through a common and efficient workflow: editing one image, saving that look as a preset, and then applying it to other photos for a consistent style.
Step 1: Open RapidRAW
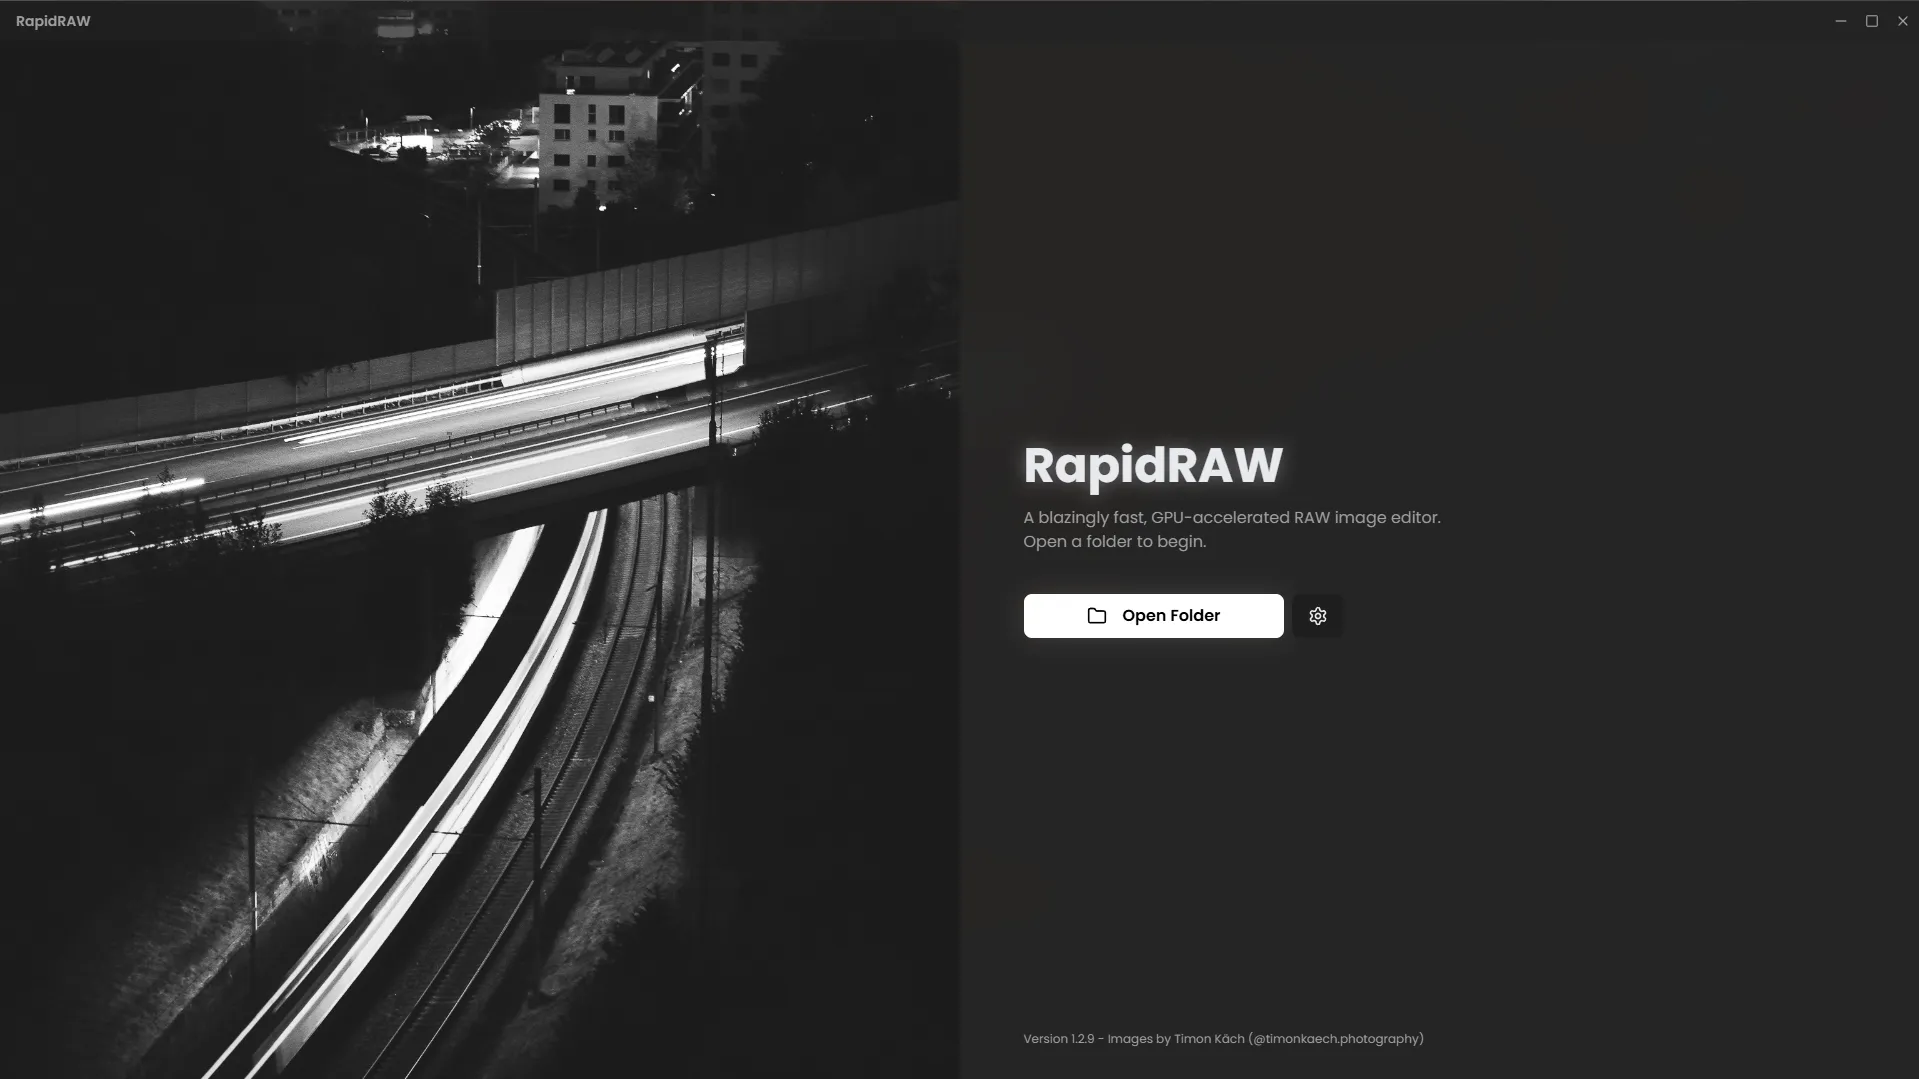
Section titled “Step 1: Open RapidRAW”When you first launch the application, you’ll see the welcome screen. Click the “Open Folder” button to select a folder of images from your computer.
Step 2: Select Your Folder
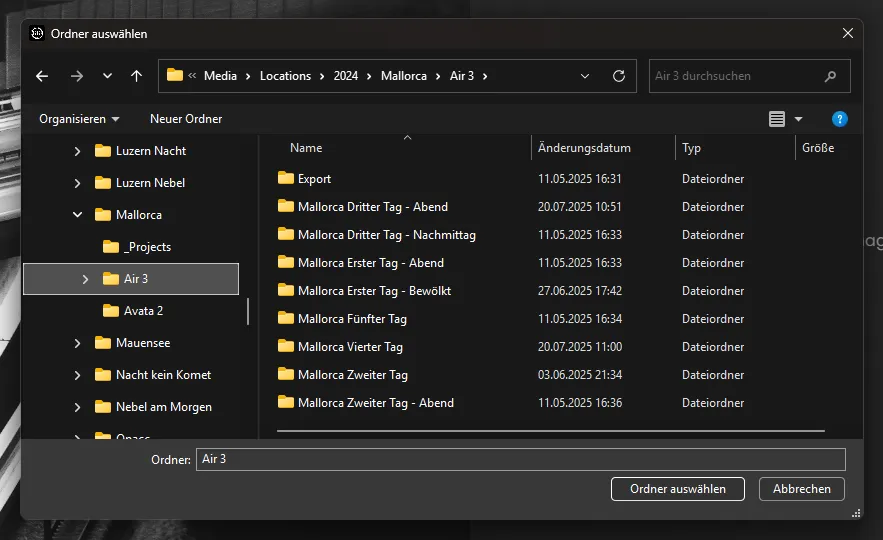
Section titled “Step 2: Select Your Folder”Navigate to your desired folder in the system’s file explorer and open it.
Step 3: View Your Library
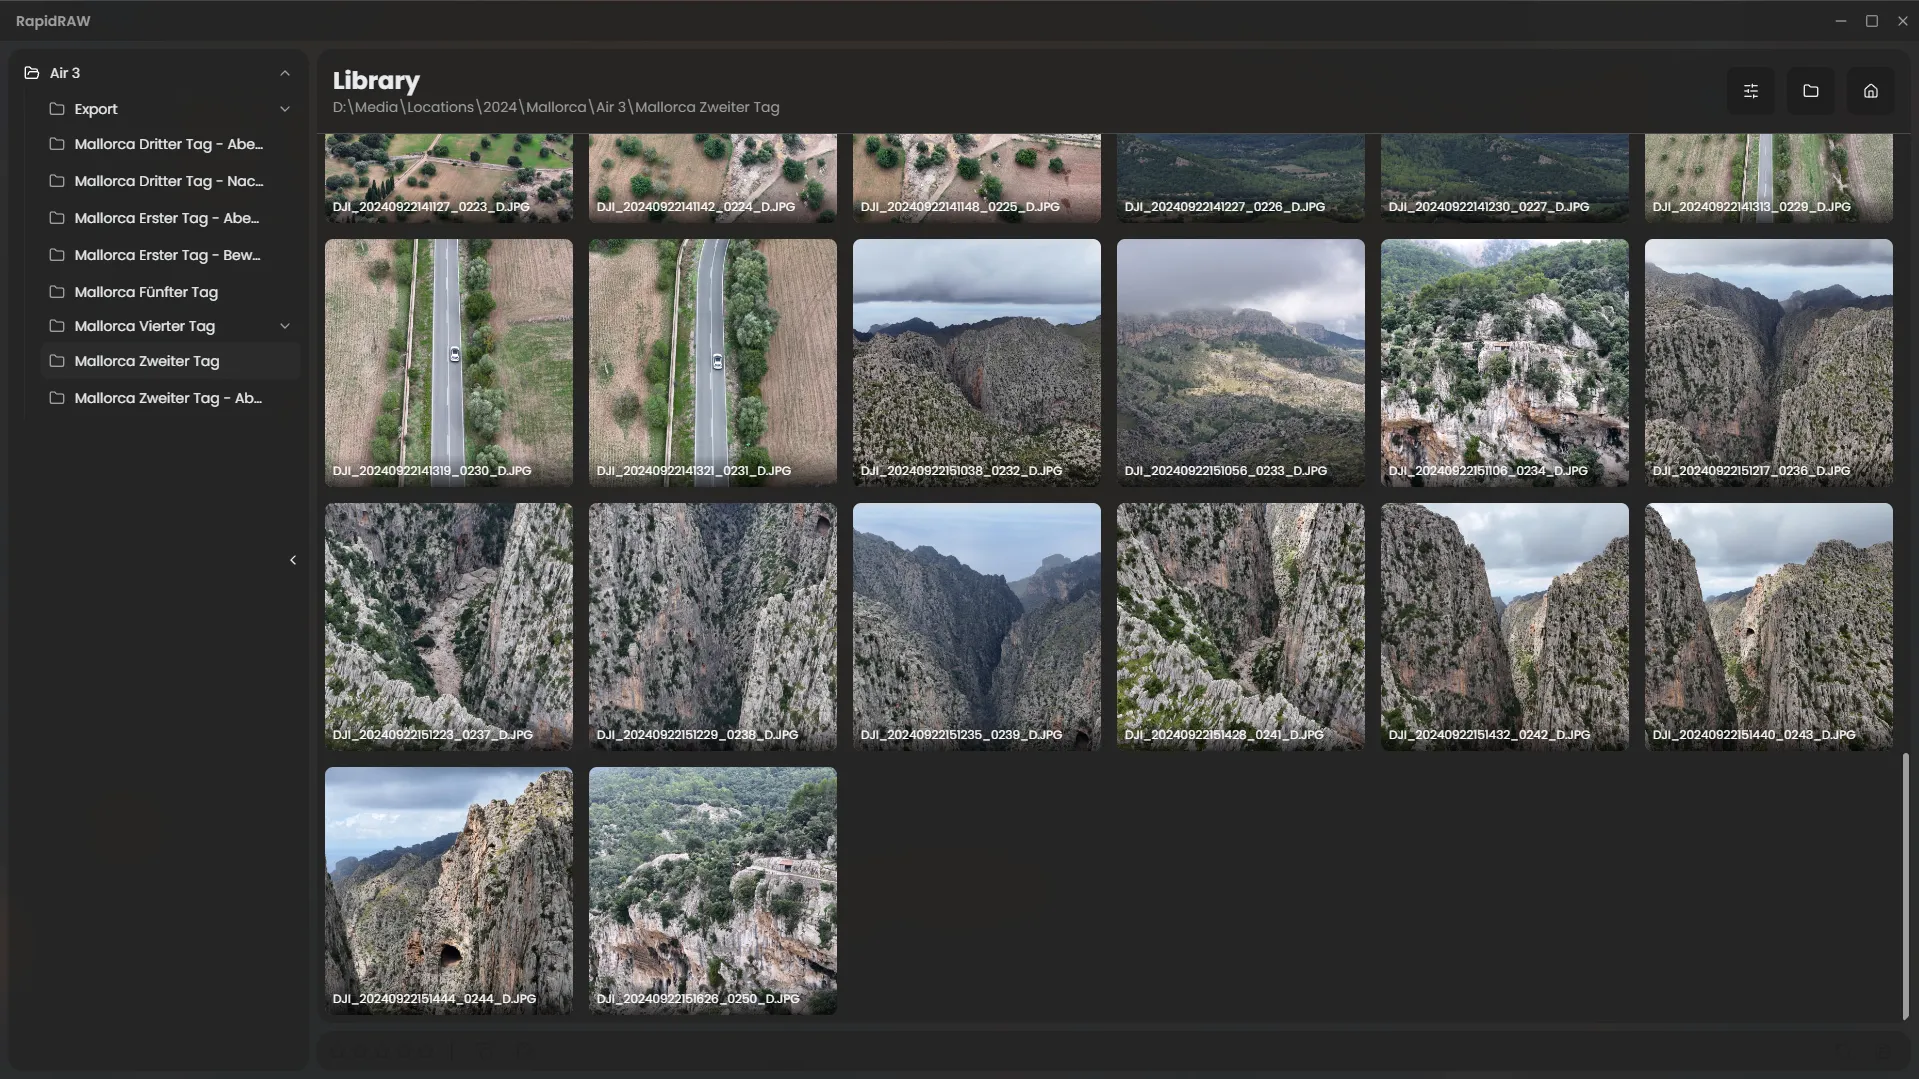
Section titled “Step 3: View Your Library”Once loaded, RapidRAW will display all the images from folder in the main library view.
Step 4: Open an Image and Make Basic Adjustments
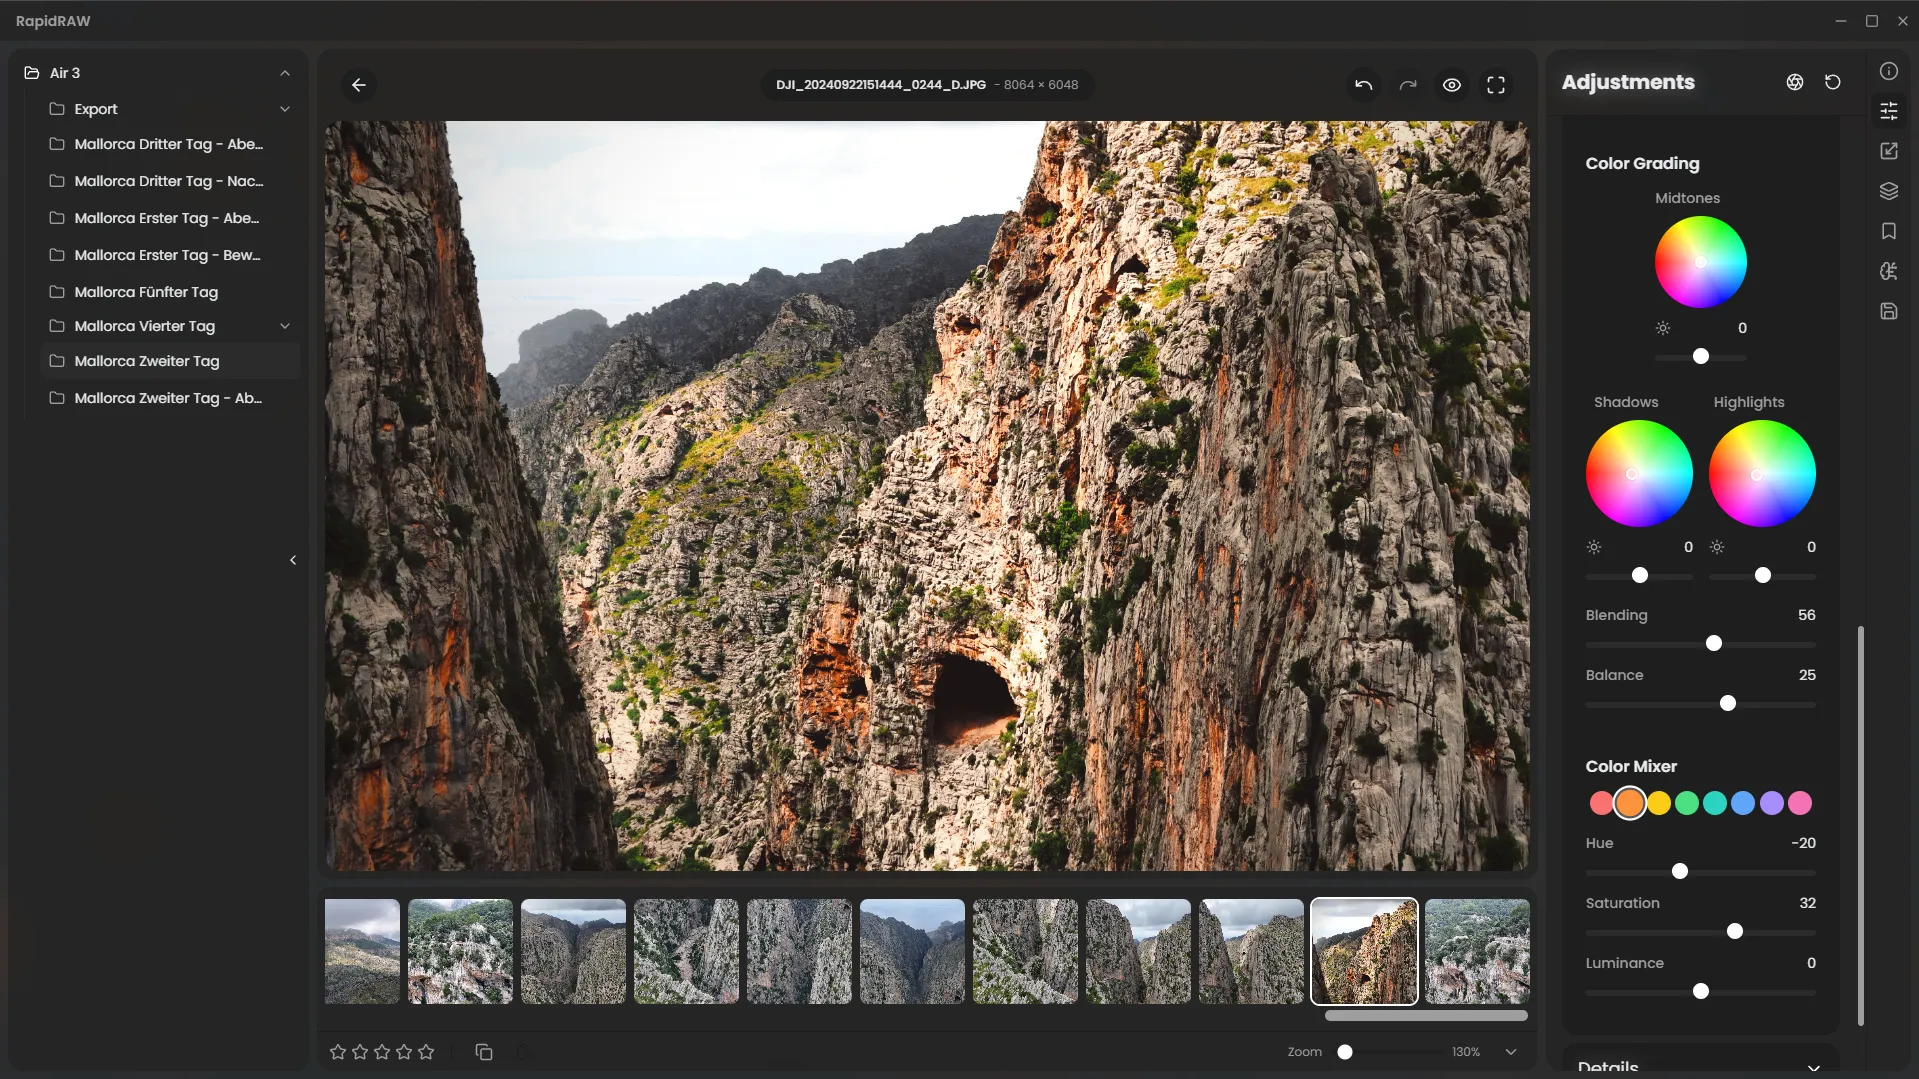
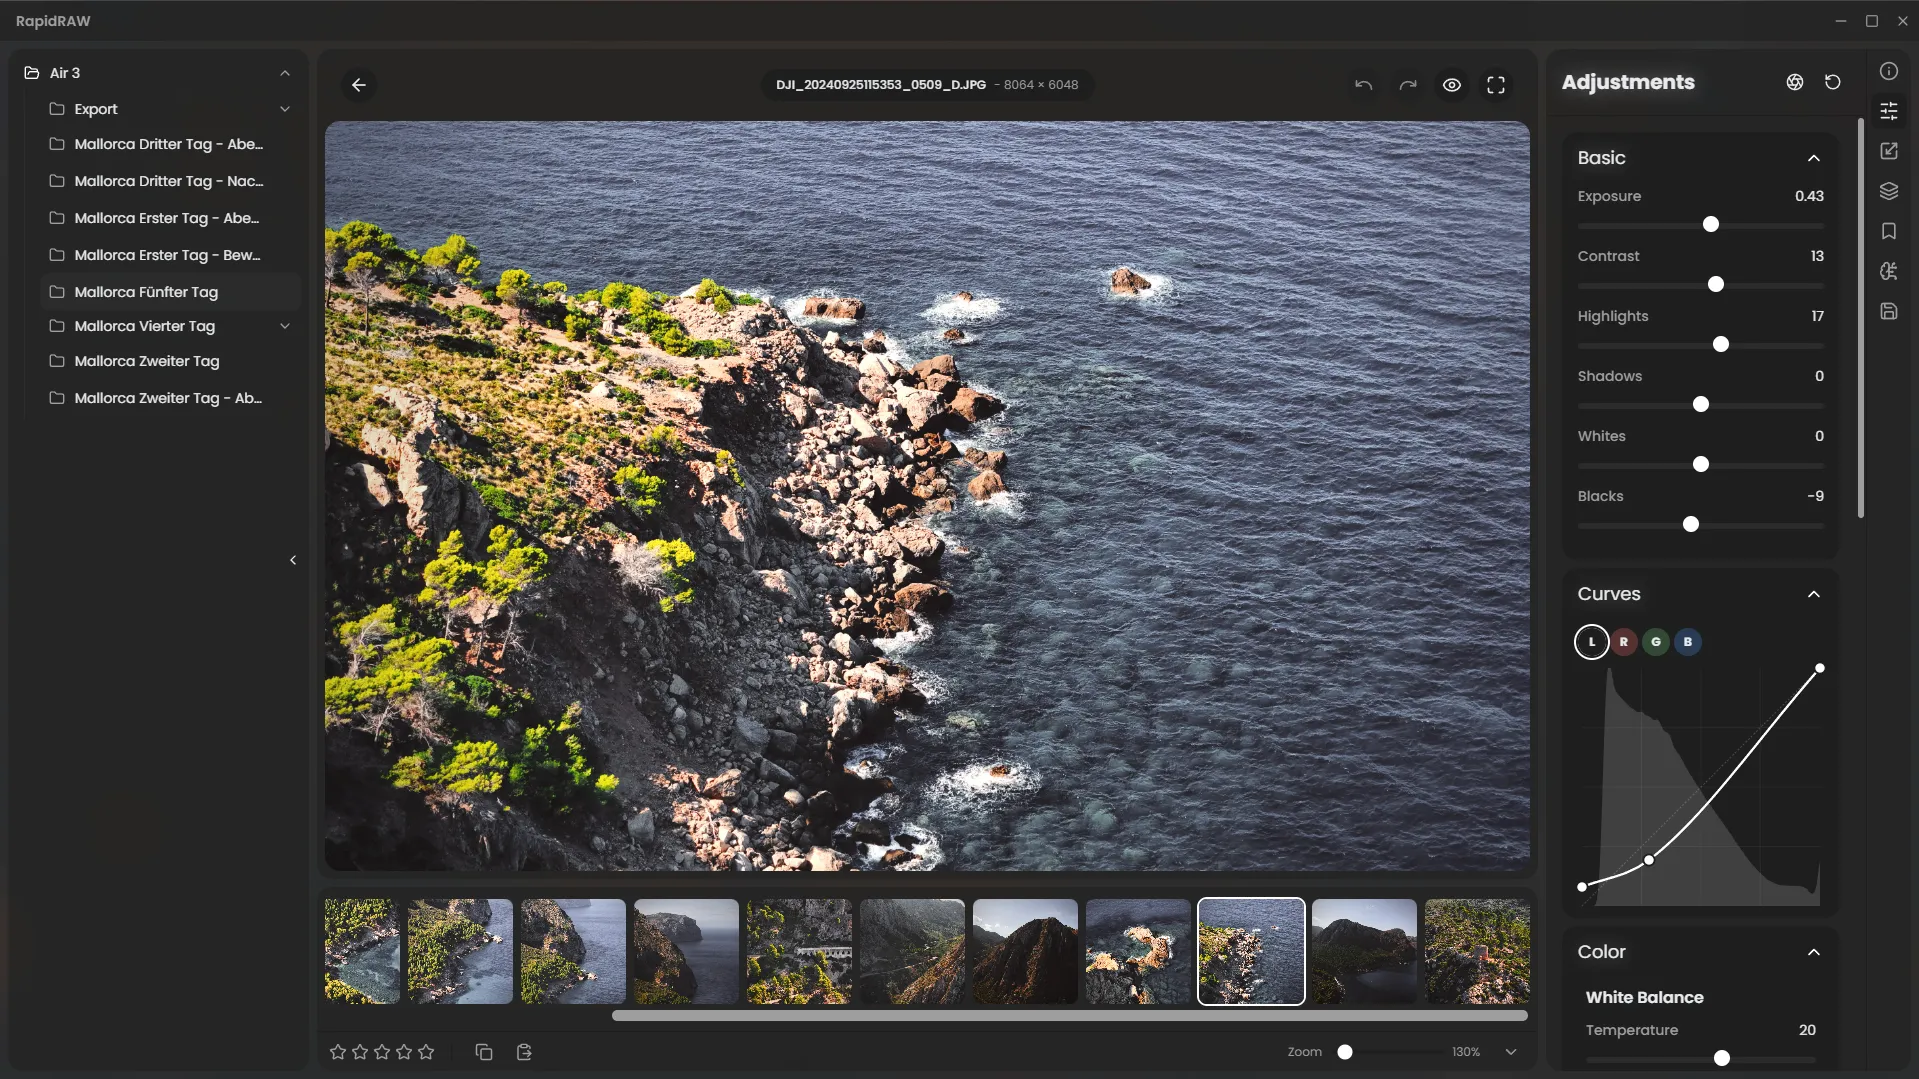
Section titled “Step 4: Open an Image and Make Basic Adjustments”Double-click an image to open it in the main editor. The image below is the original, unedited RAW file.
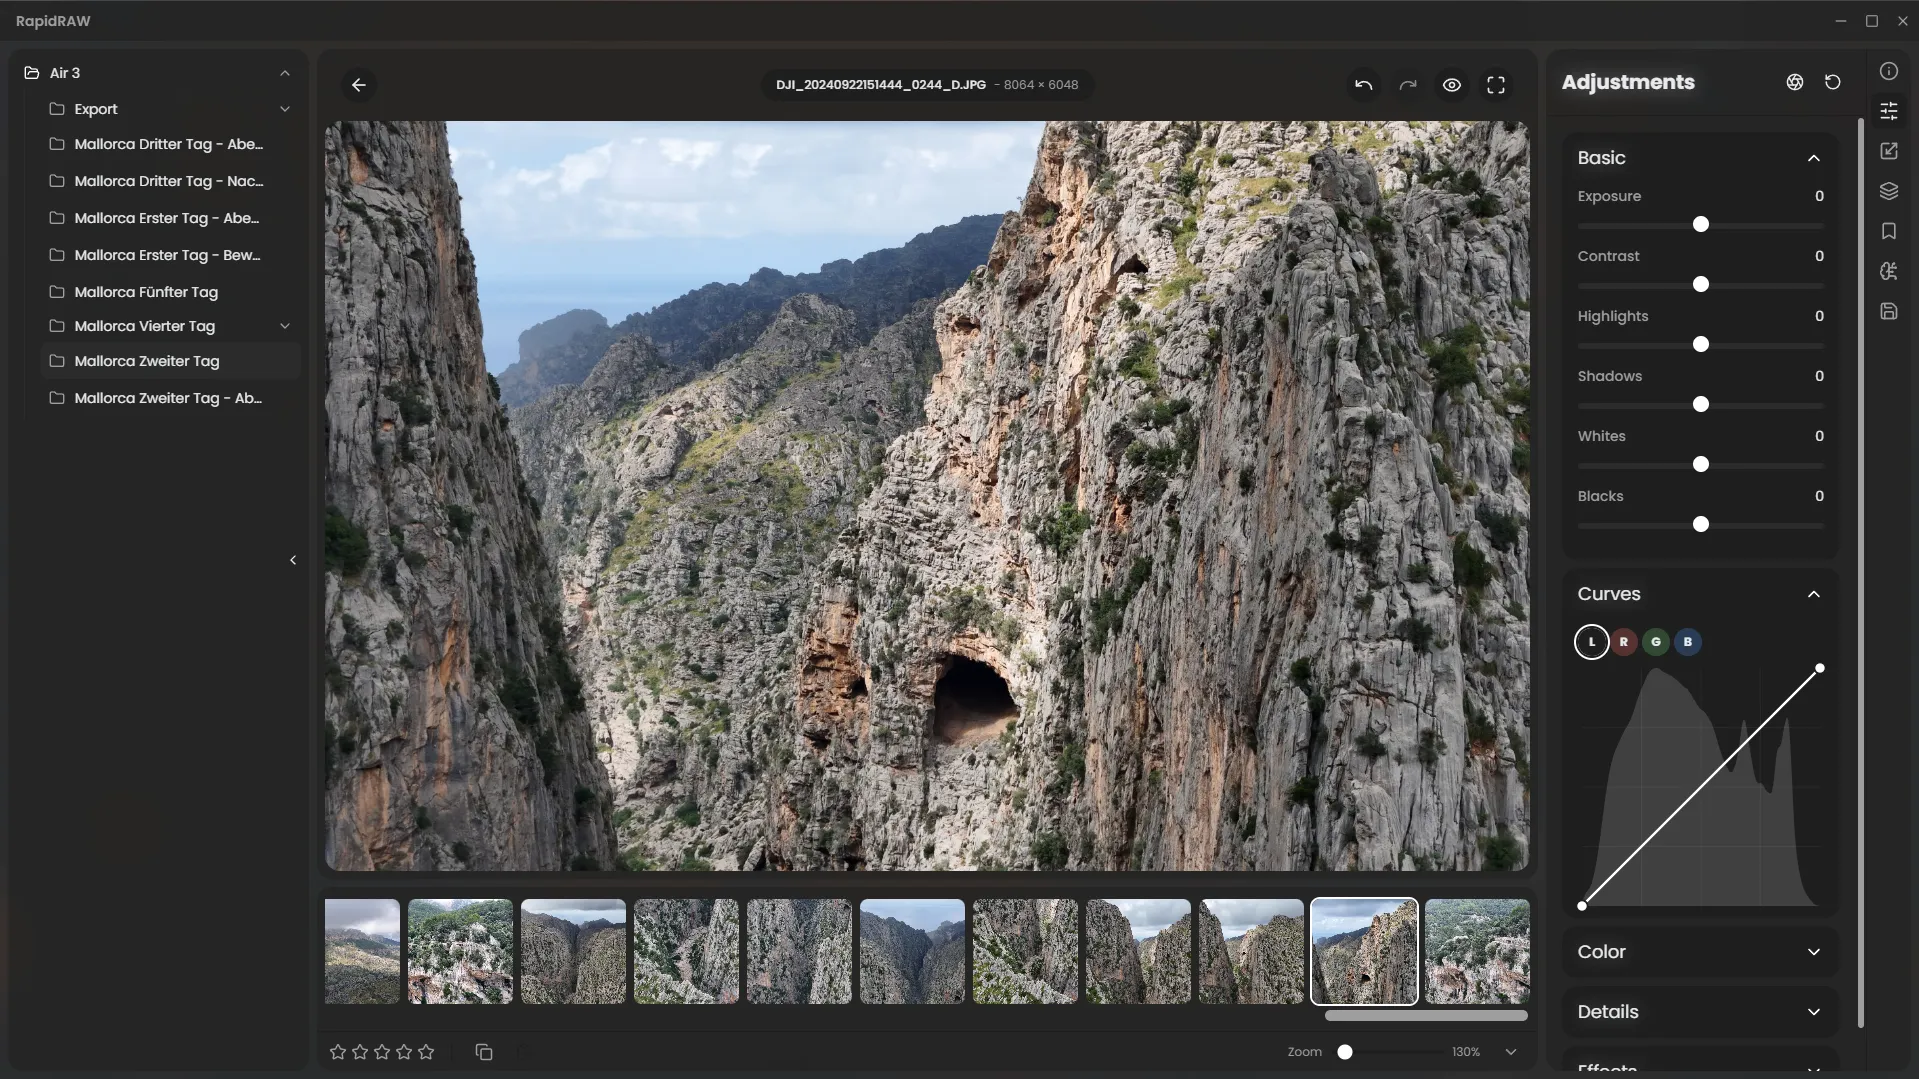
Now, use the sliders in the right-hand panel to make some basic adjustments. We’ve increased the exposure, added contrast, increased the temperature and tweaked the colors to make the image pop.
Step 5: Copy Your Adjustments
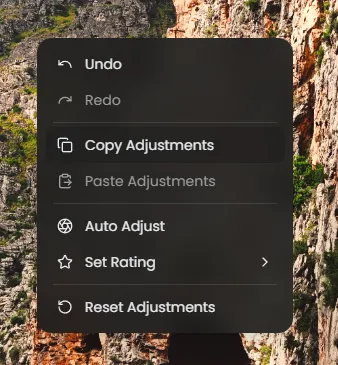
Section titled “Step 5: Copy Your Adjustments”Now that you have a look you like, you don’t have to repeat these steps for every photo. Right-click the edited image and select Copy Adjustments.
Step 6: Paste Adjustments to Other Images
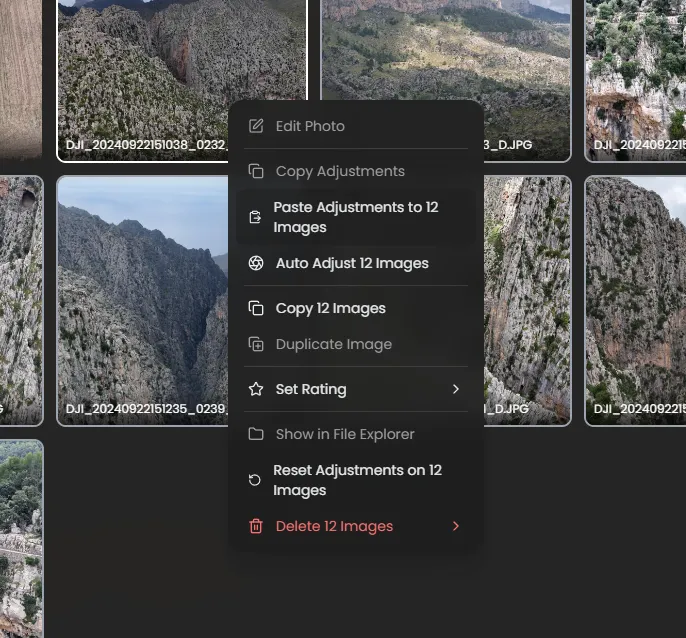
Section titled “Step 6: Paste Adjustments to Other Images”You can apply these exact settings to other photos. Select multiple images in the filmstrip (hold Ctrl or Cmd and click), then right-click and choose Paste Adjustments. This is a huge time-saver for creating a consistent look across a set of photos.
Step 7: Create a Preset for Later Use
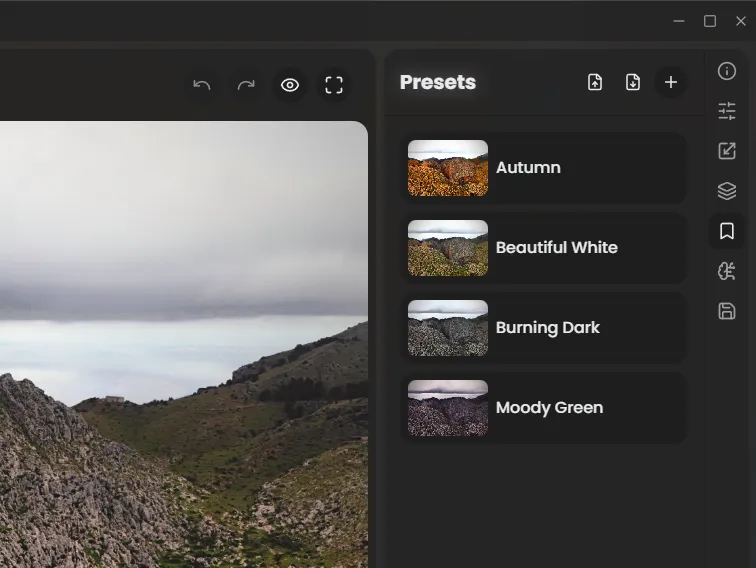
Section titled “Step 7: Create a Preset for Later Use”To save this look for future editing sessions, you can create a preset. In the Presets panel, click the “Create New Preset” icon, give it a name, and save it. Now you can apply this look with a single click anytime.
Step 8: Apply Your Preset to a New Image
Section titled “Step 8: Apply Your Preset to a New Image”Let’s open a completely different photo. Now, simply click on your newly created preset. The adjustments are instantly applied.
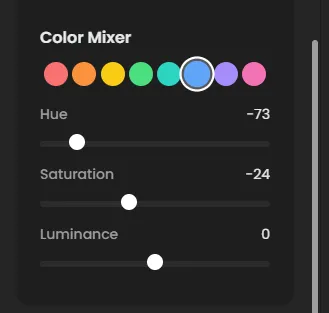
Step 9: Fine-Tune with the Color Mixer
Section titled “Step 9: Fine-Tune with the Color Mixer”The preset looks good, but the blue in the water is now a bit too grey and desaturated. We can easily fix this. Go to the Color Mixer panel, select the blue color channel, and increase its Saturation to bring the color back.

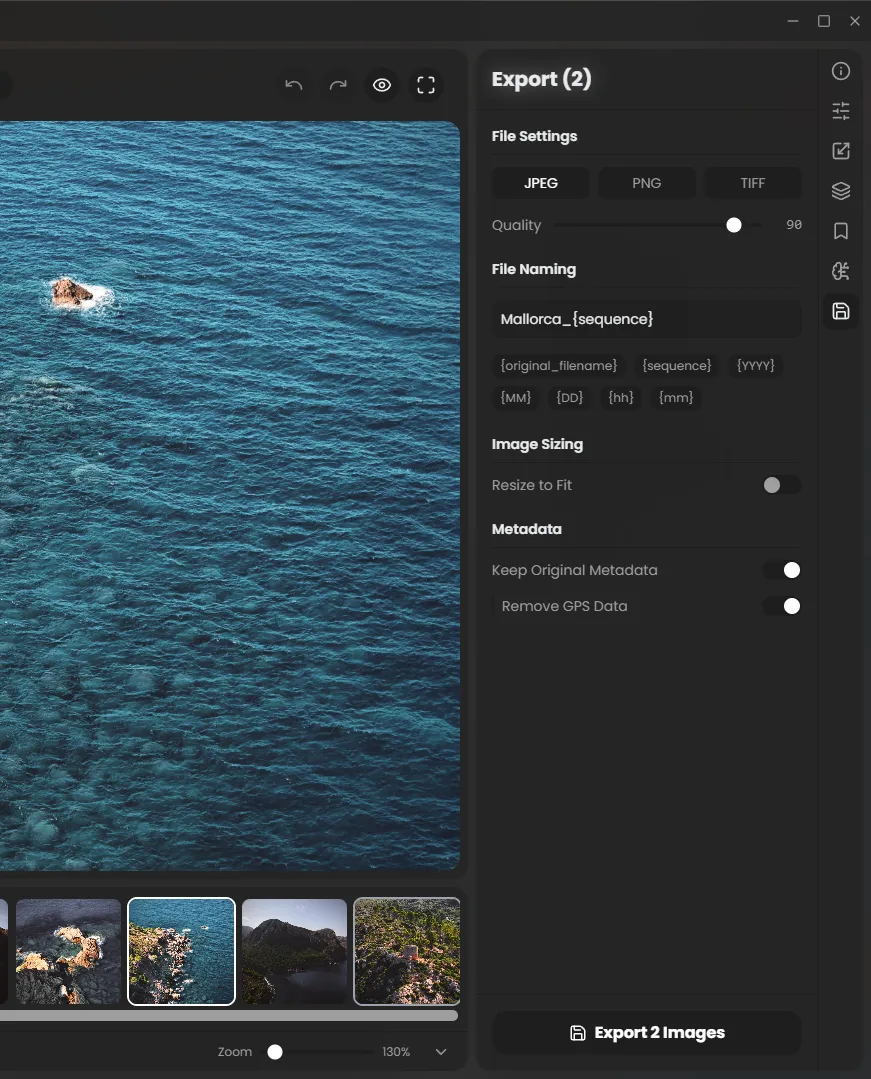
Step 10: Export Your Final Image
Section titled “Step 10: Export Your Final Image”Perfect! The image is now ready to be shared. Click the Export button in the bottom left. In the export dialog, you can set your desired format (like JPEG), quality, and other options. Click Export to save your final image.
Congratulations!
Section titled “Congratulations!”You’ve just learned an efficient workflow in RapidRAW. You can now edit, sync adjustments, create presets, and fine-tune your images with ease.