
Mastering the Editing Tools
This tutorial will guide you through a complete editing workflow, combining multiple tools to transform a standard photo into a dramatic and stylized image.
Step 1: Open Your Image
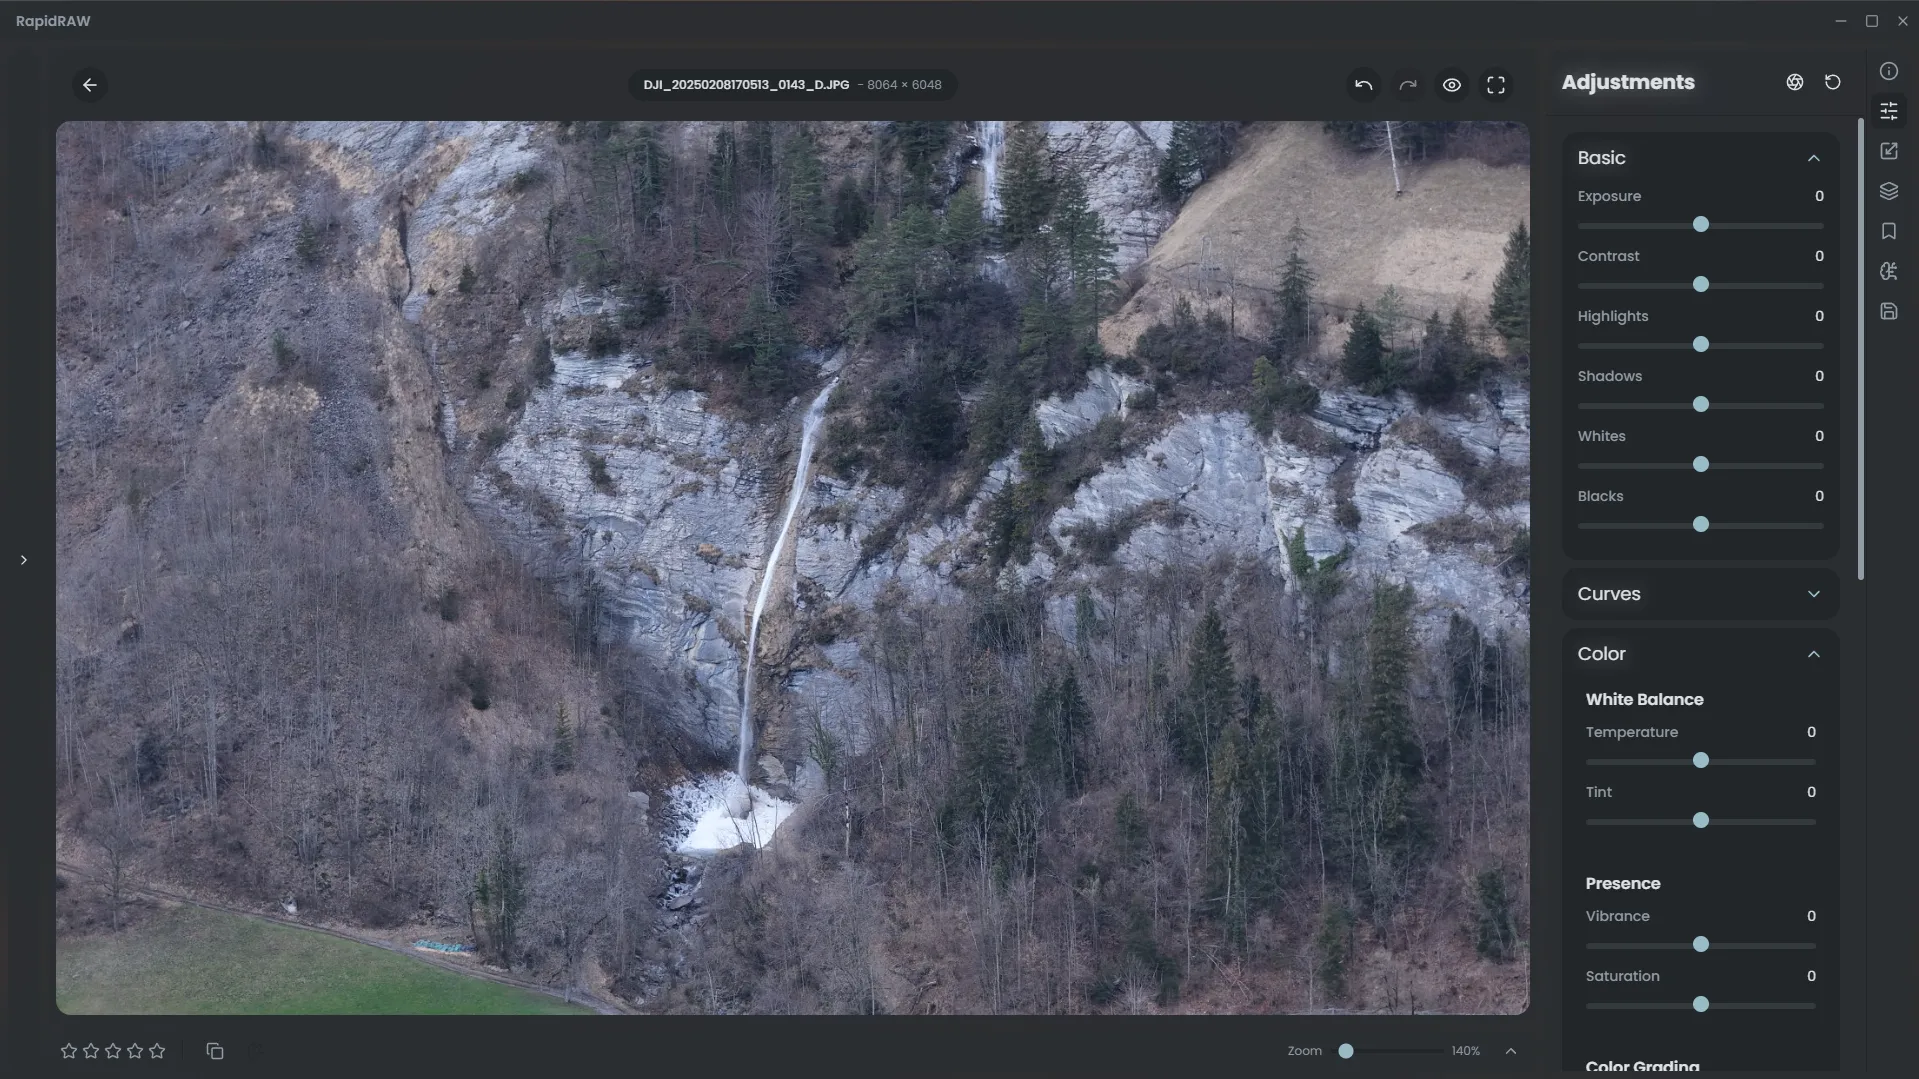
Section titled “Step 1: Open Your Image”To begin, open an image you’d like to work on. Here is our starting point—a cool-toned waterfall scene.
Step 2: Get a Head Start with Auto Adjust
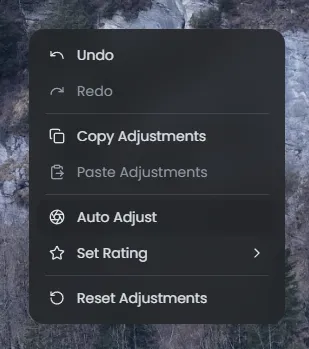
Section titled “Step 2: Get a Head Start with Auto Adjust”If you want a quick starting point, the Auto Adjust feature can provide a great initial edit. Right-click the image and select ‘Auto Adjust’.
As you can see, this has instantly made the image a bit warmer and added some contrast, giving us a solid base to build upon.

Step 3: Creative Color & Tone Adjustments
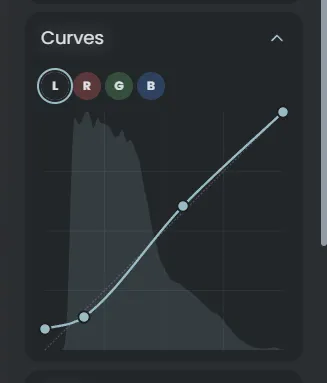
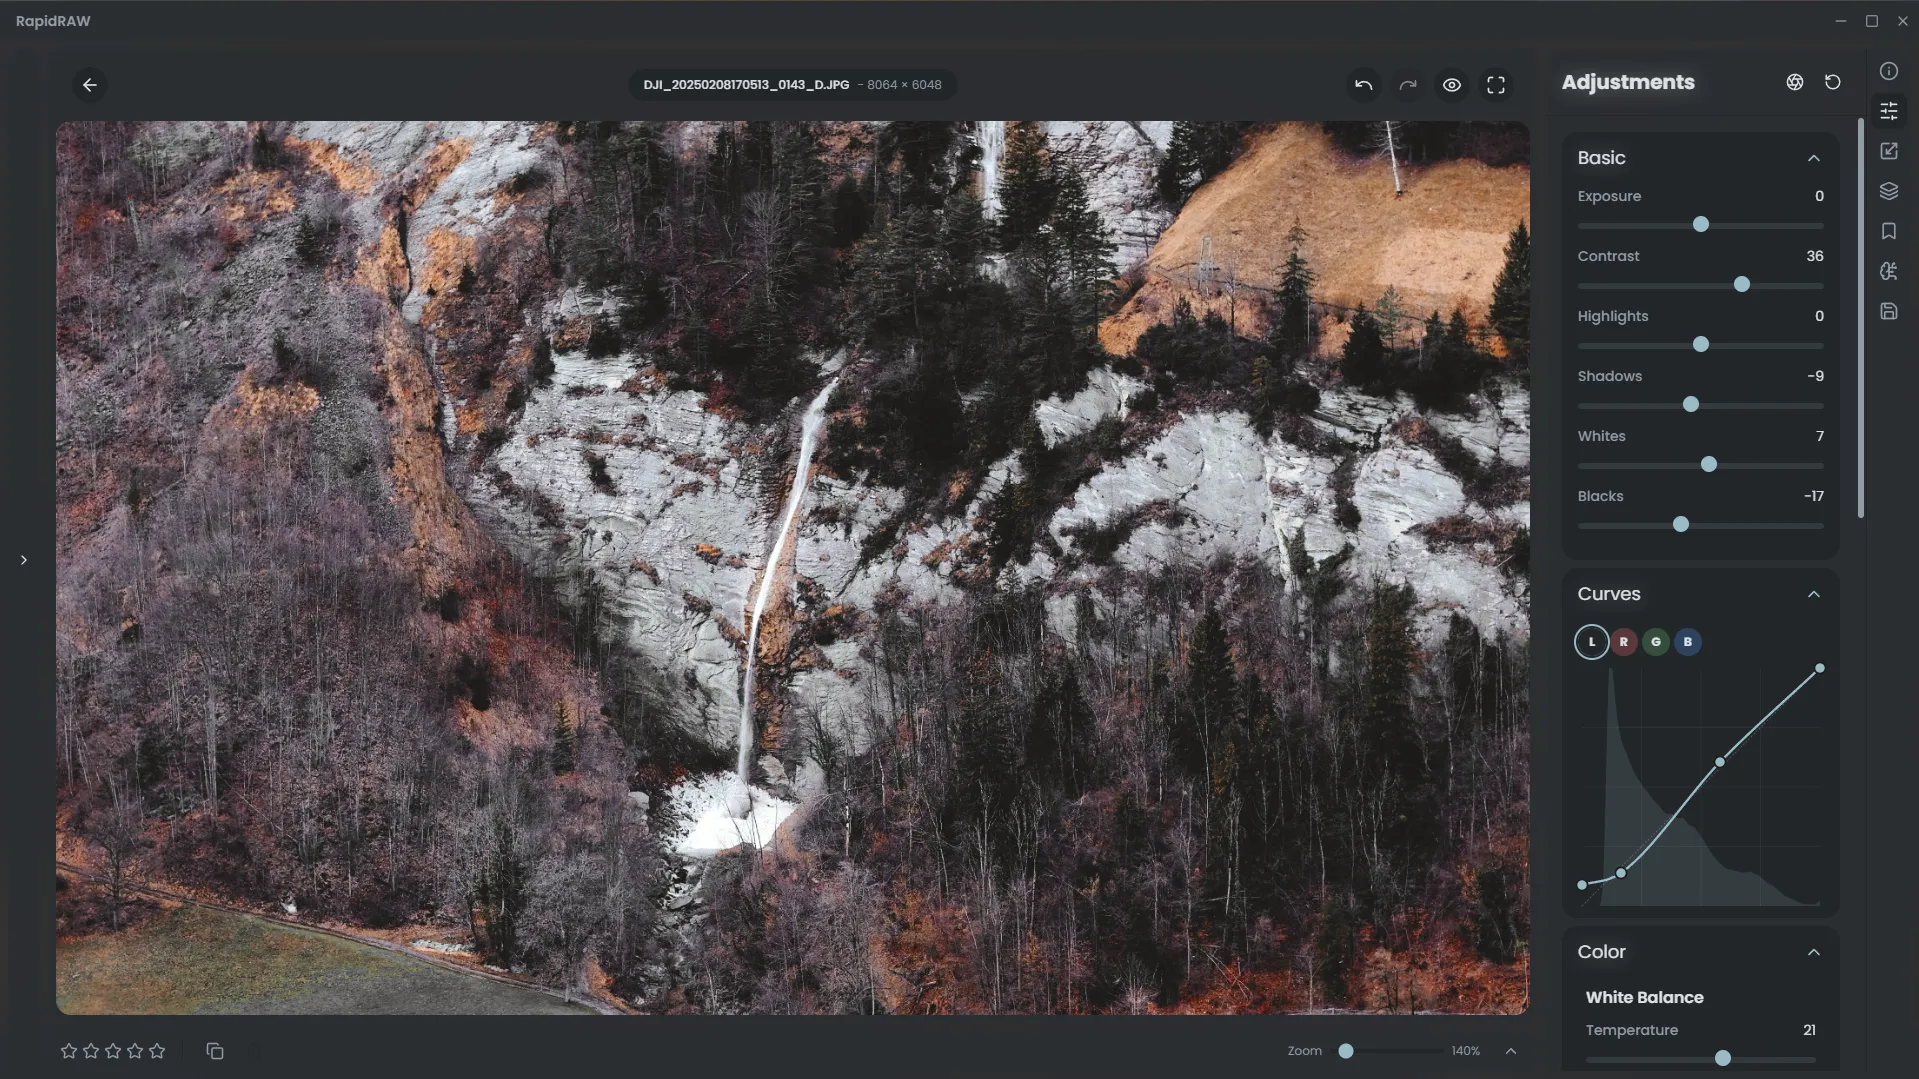
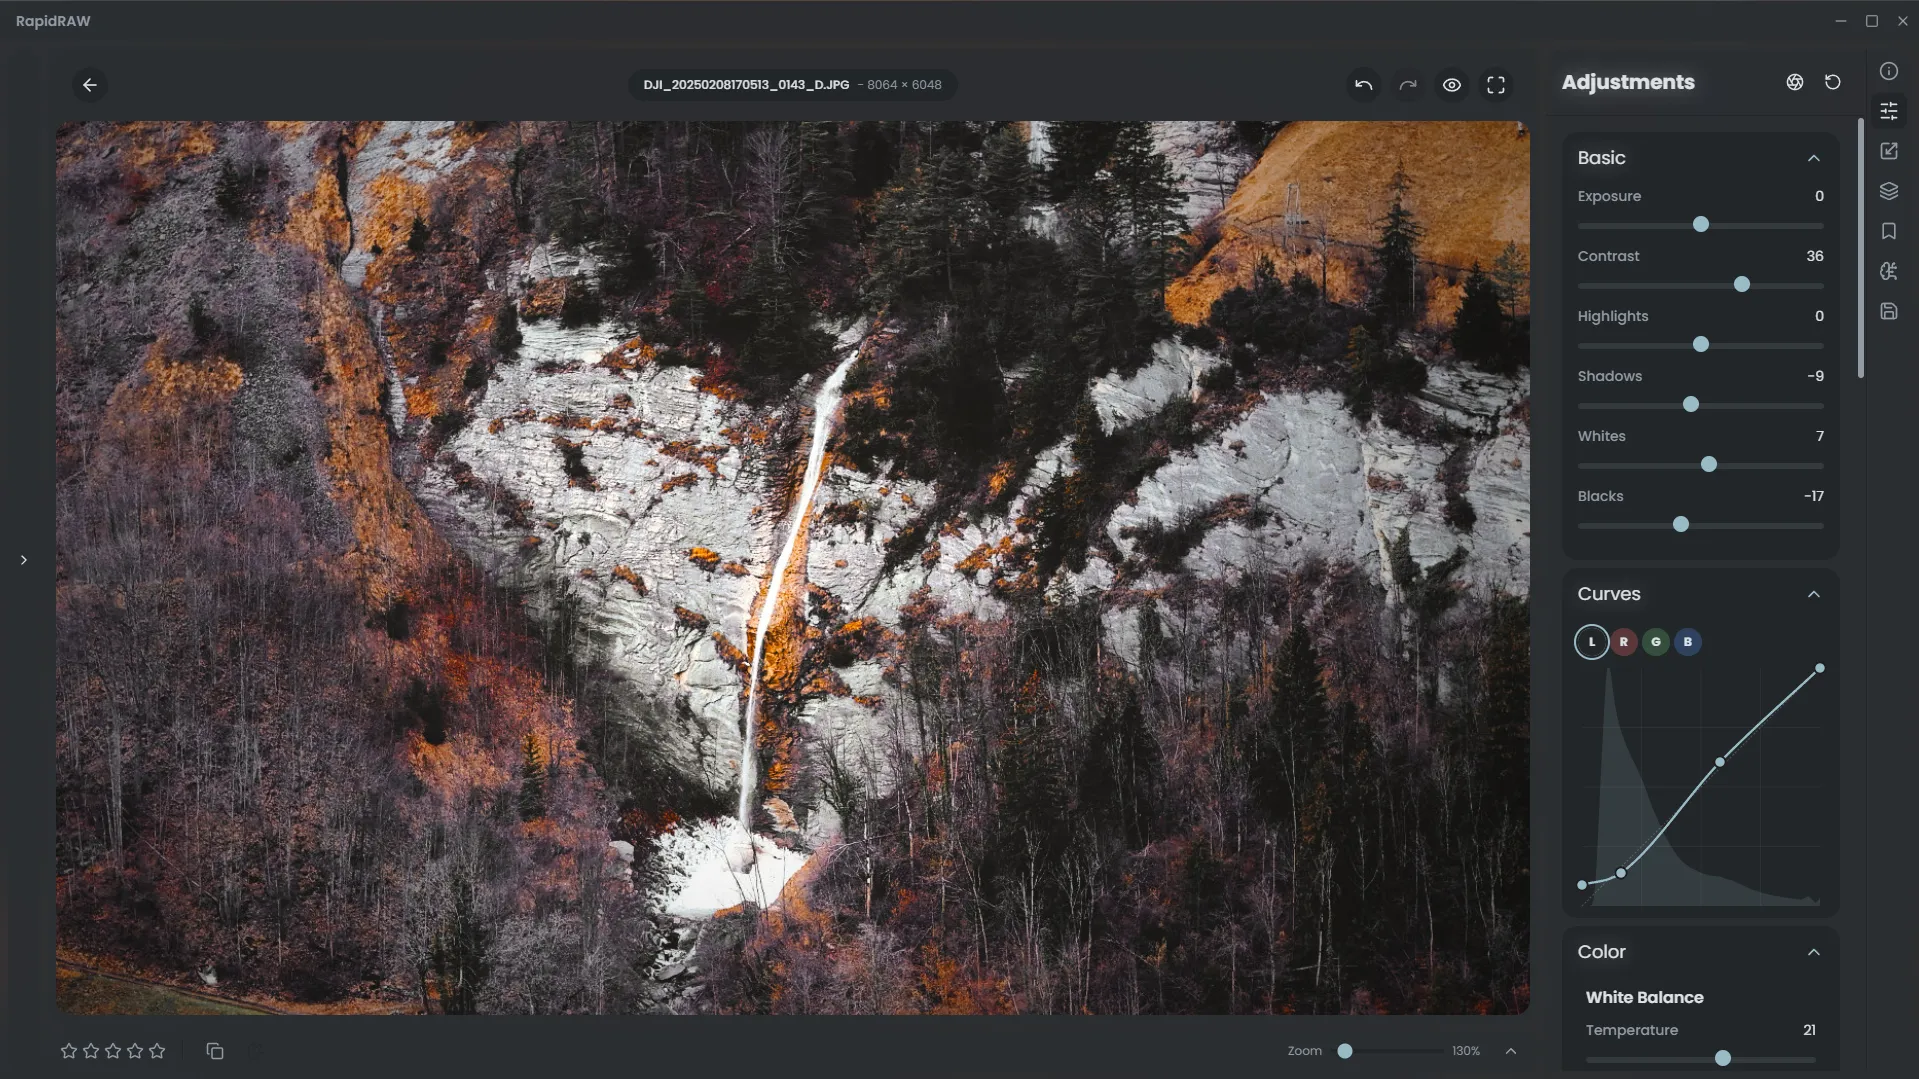
Section titled “Step 3: Creative Color & Tone Adjustments”Now for the creative part. We can apply a ‘filmic’ S-curve in the Curves panel to deepen the contrast in a more nuanced way.
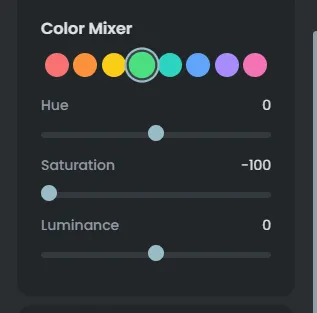
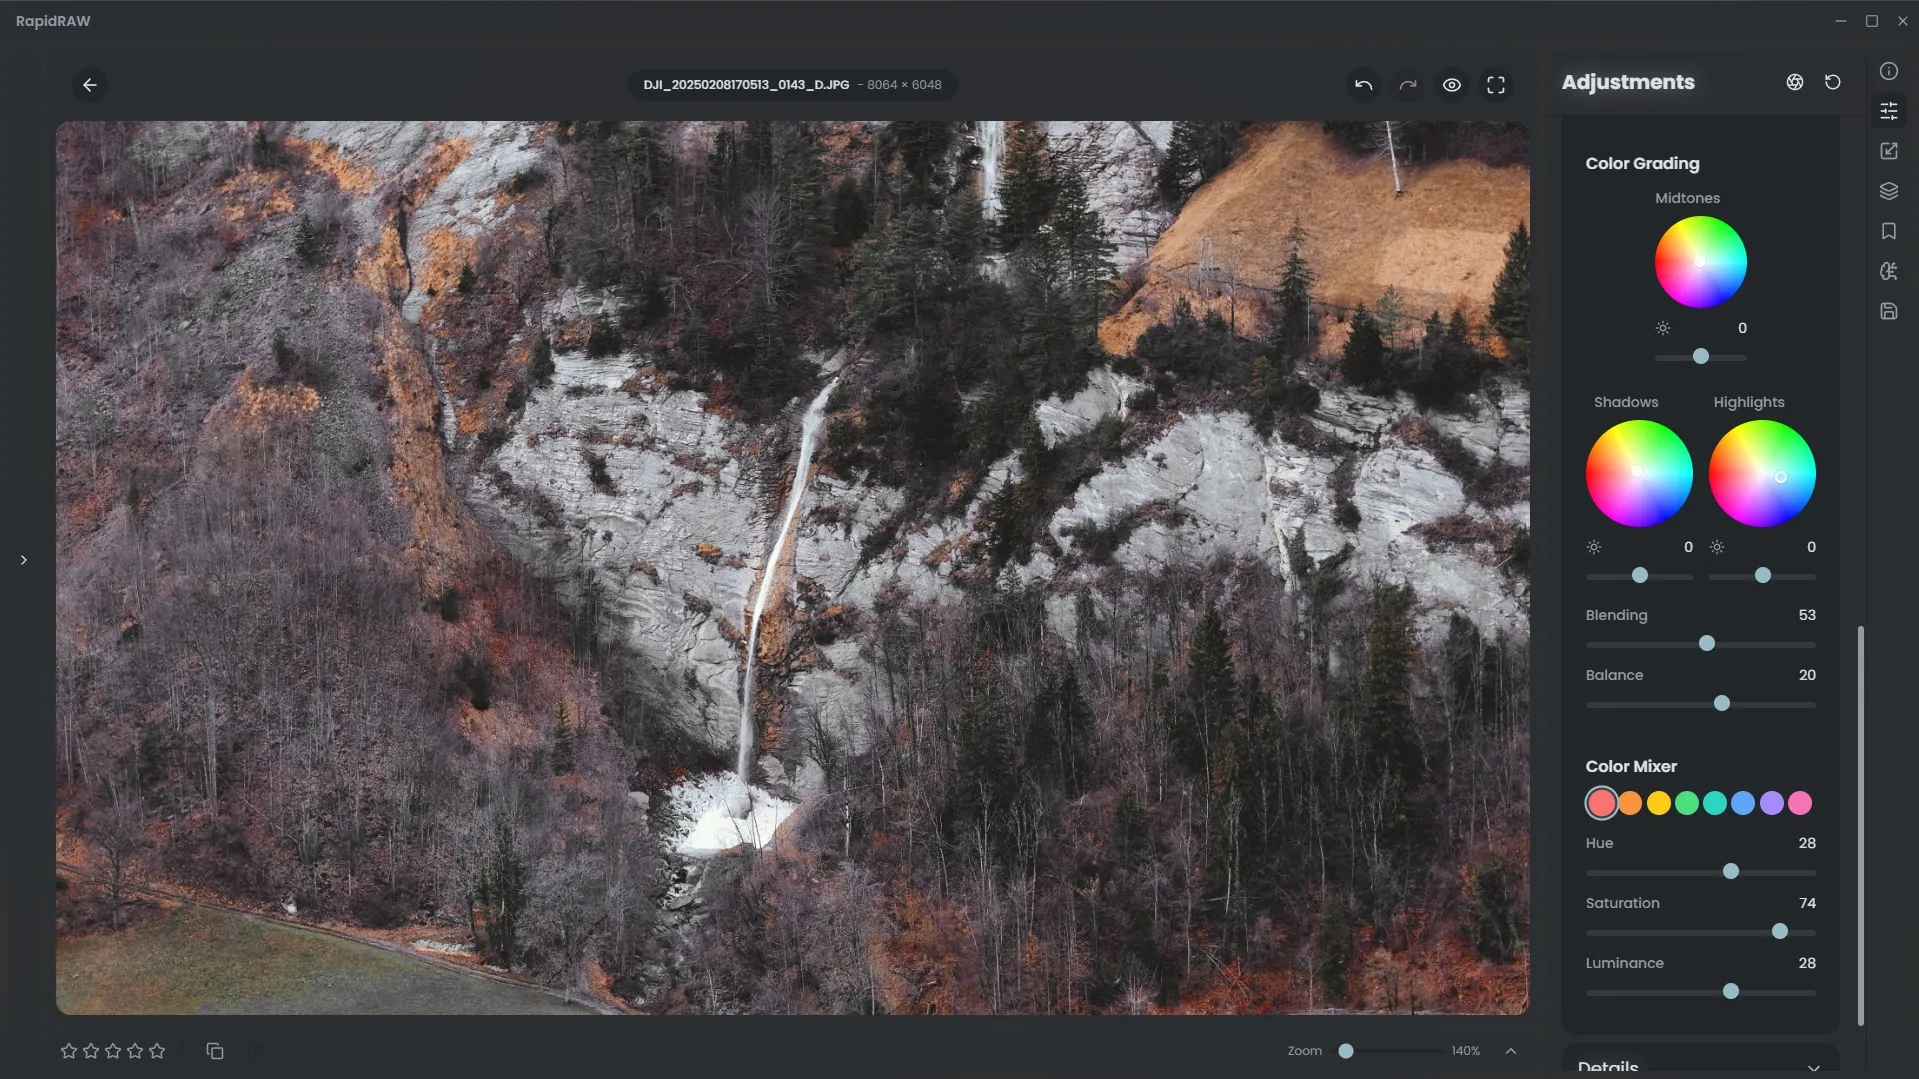
Next, in the Color Mixer, we can remove some of the greens and blues, as they aren’t really needed here in this image (in my opinion). This helps simplify the color palette and adds to the autumn feel.
The result is a soft, unique color grade that sets the mood.
Step 4: Dialing in the Contrast
Section titled “Step 4: Dialing in the Contrast”After our color changes, the image feels a bit flat. We can fix this by increasing the Whites and decreasing the Blacks to expand the dynamic range.
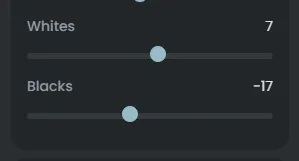
This simple adjustment brings back the punch and depth to the scene.
Step 5: Adding Pop with Detail and Presence
Section titled “Step 5: Adding Pop with Detail and Presence”To make the image pop even more, we can use the Details and Presence panels. A touch of Sharpening, Clarity, and Dehaze will enhance the textures in the rocks and trees.

The image is now much crisper and has more local contrast.
Step 6: Improving the Composition with Crop
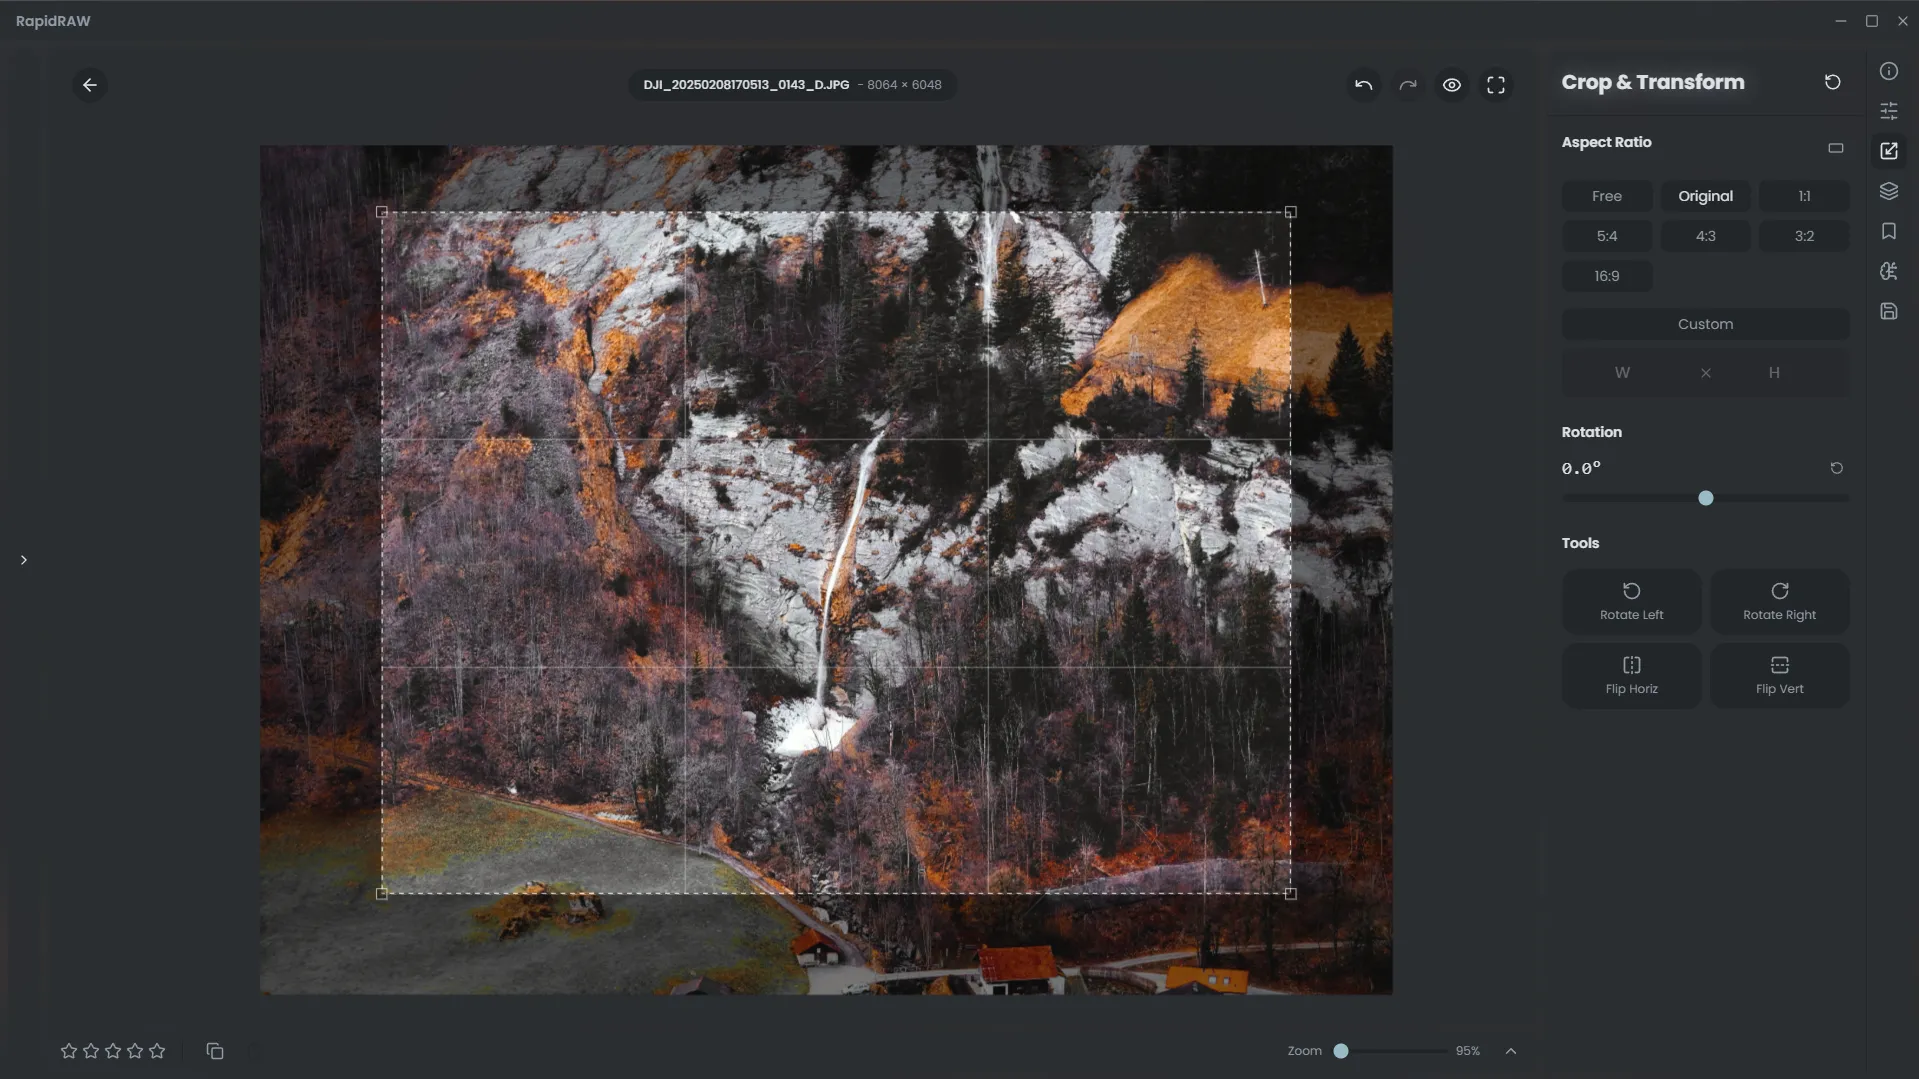
Section titled “Step 6: Improving the Composition with Crop”To keep the waterfall better in frame, we can crop the image slightly using the crop tool. This helps focus the viewer’s attention.
Step 7: The Final Touches
Section titled “Step 7: The Final Touches”To give the image a final, polished look, we’ll add a subtle vignette to darken the corners.
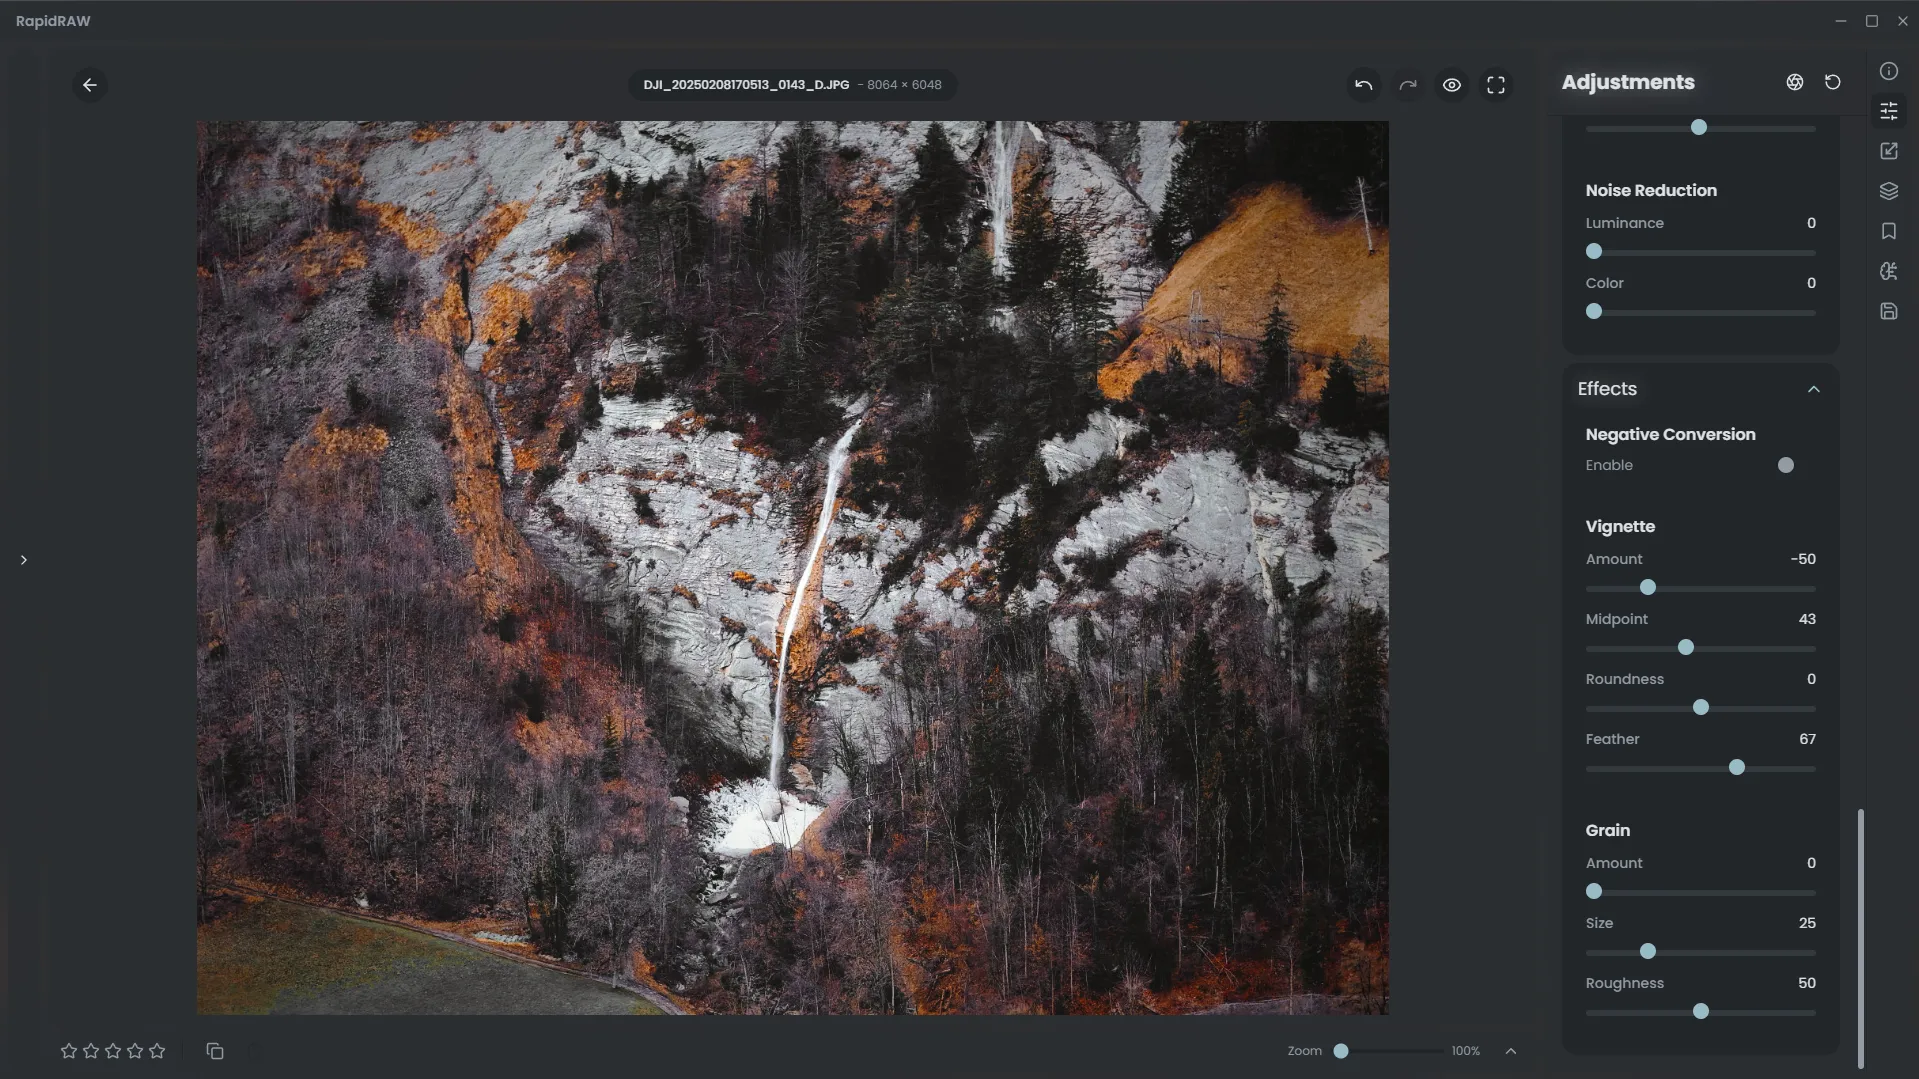
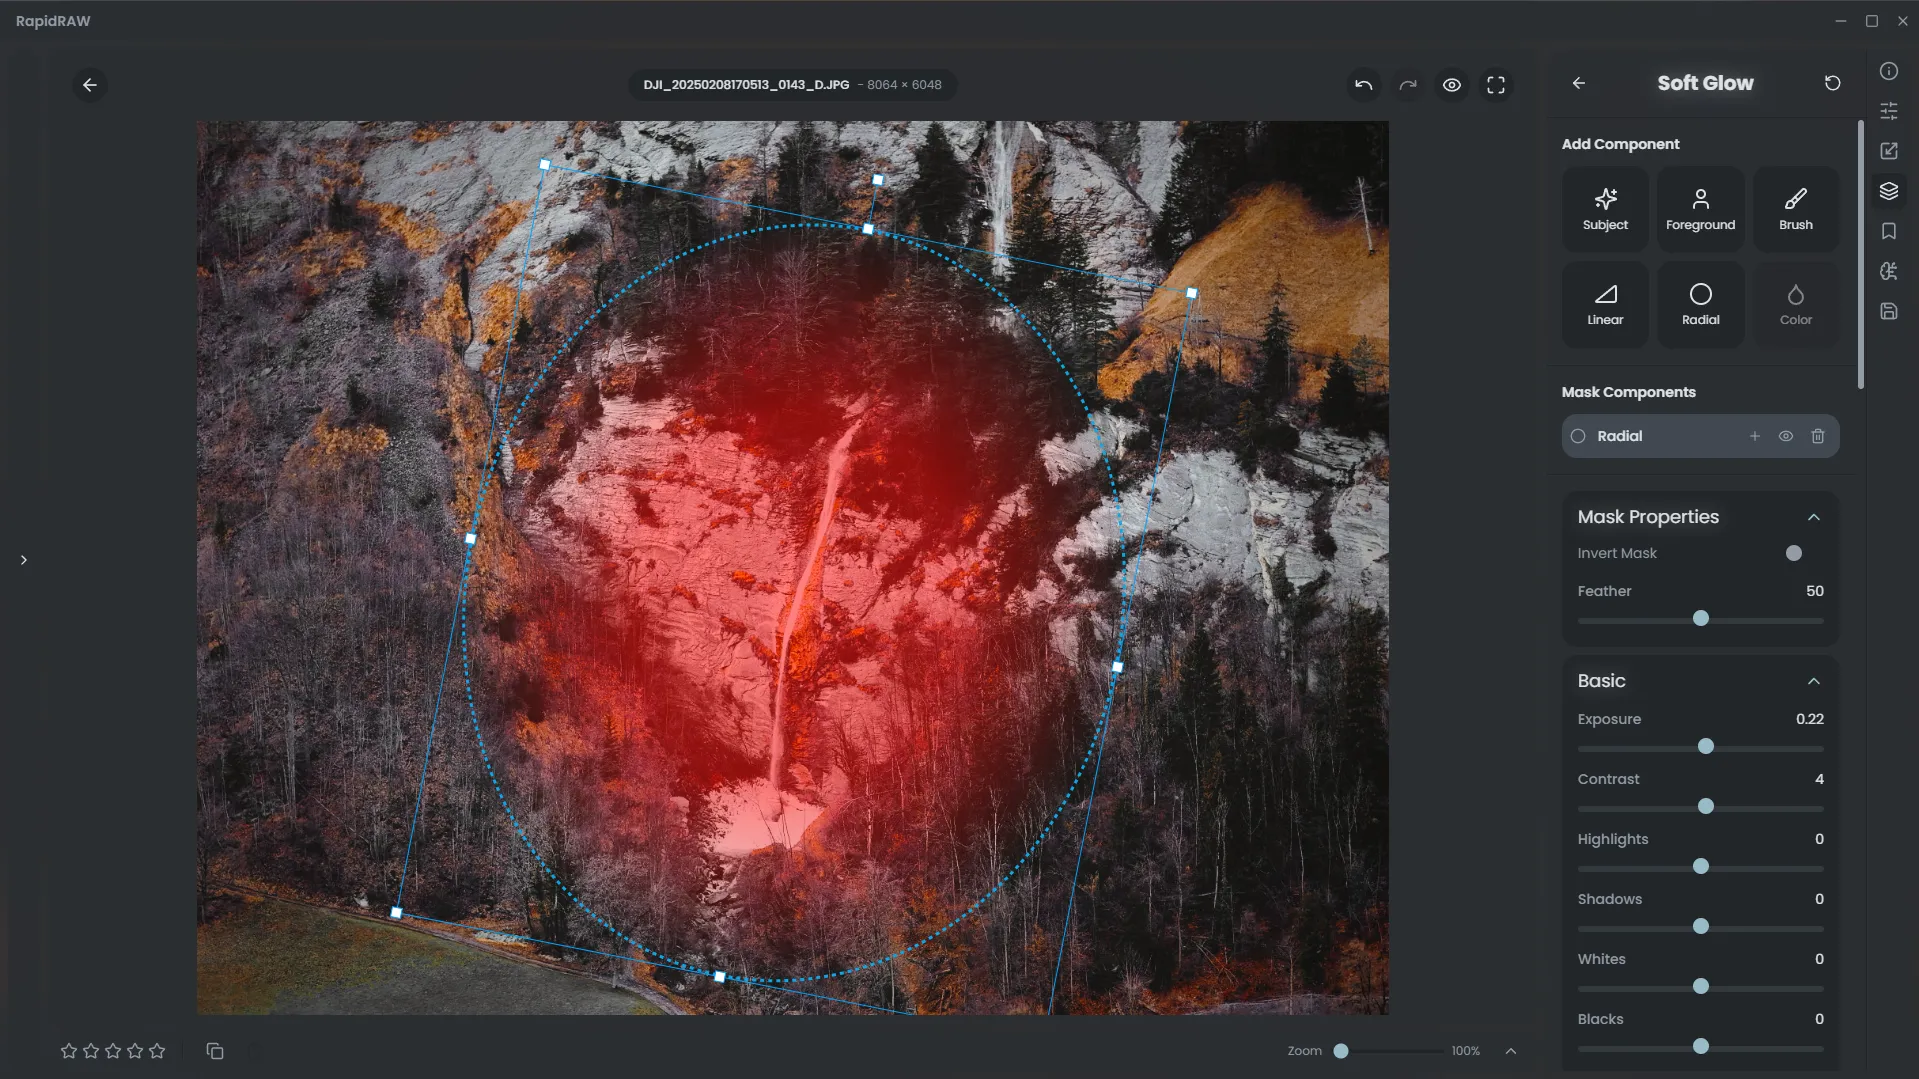
Then, using the Masking tools, we’ll create a soft, warm radial glow over the waterfall, increasing its Temperature and Exposure to make it the clear focal point.
Step 8: The Final Edit
Section titled “Step 8: The Final Edit”And now we have our final edit! By combining multiple tools, we’ve transformed a simple photo into a dramatic and moody scene.
Before & After
Section titled “Before & After”Let’s take a look at the comparison to see how far we’ve come.
Original:
Final Edit: